

How to access your Self-managed Cloud server
A Self-managed server provides you with the freedom and flexibility to customise your own hosting environment. Afrihost is responsible for managing the hardware of the server, and the installation of the initial base operating system on the server. This means that you have full control over the server's configuration, software, security, and updates. We recommend that you have your own server administrator or have the required higher level of technical expertise. Alternatively, you can opt for a managed server.
Please read Dedicated and Cloud hosting explained, to learn more.
Below are the two Self-managed cloud server Operating Systems we offer:
- Linux.
- Windows.
1. How to access your Self-managed Cloud server
Linux servers are renowned for their stability, security, and flexibility. They offer robust support for various programming languages and technologies such as PHP, Perl, MySQL, PostgreSQL, and CGI Scripts. Access to these features is made easy through a convenient control panel.
To manage your Linux server, you have two primary methods of access:
1.1. Console from ClientZone:
1.2. Secure Shell (SSH)
1.1. How to access your server console via ClientZone
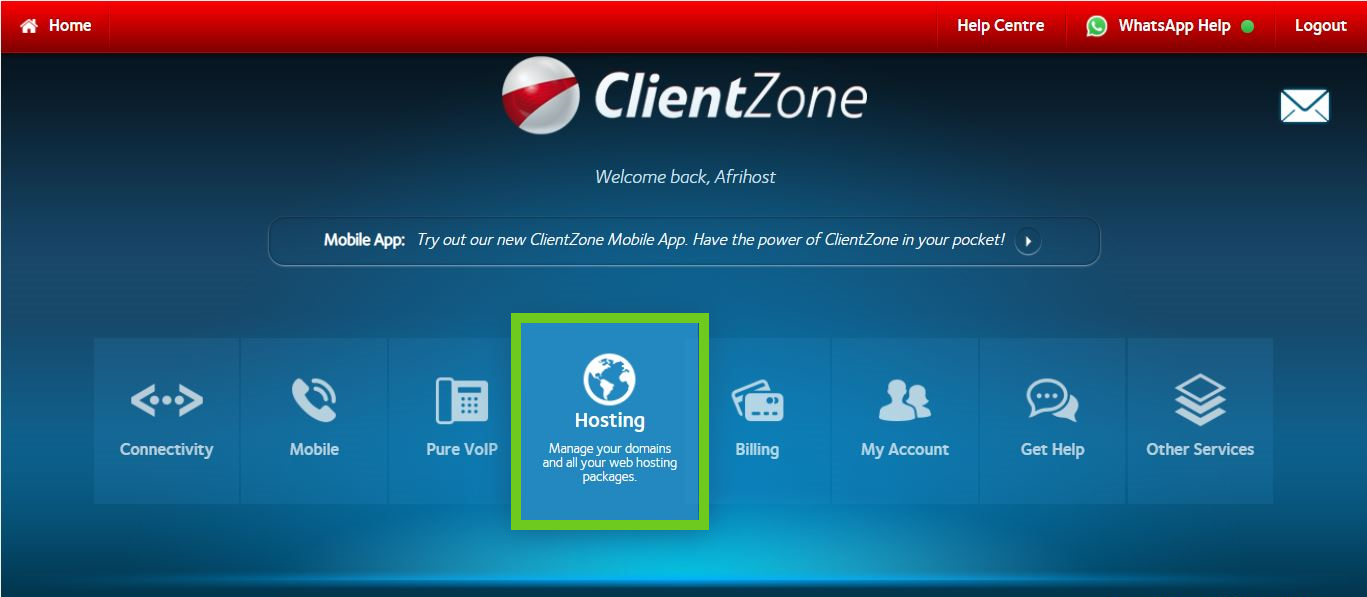
- Log into ClientZone.
- Select the ‘Hosting’ tab.
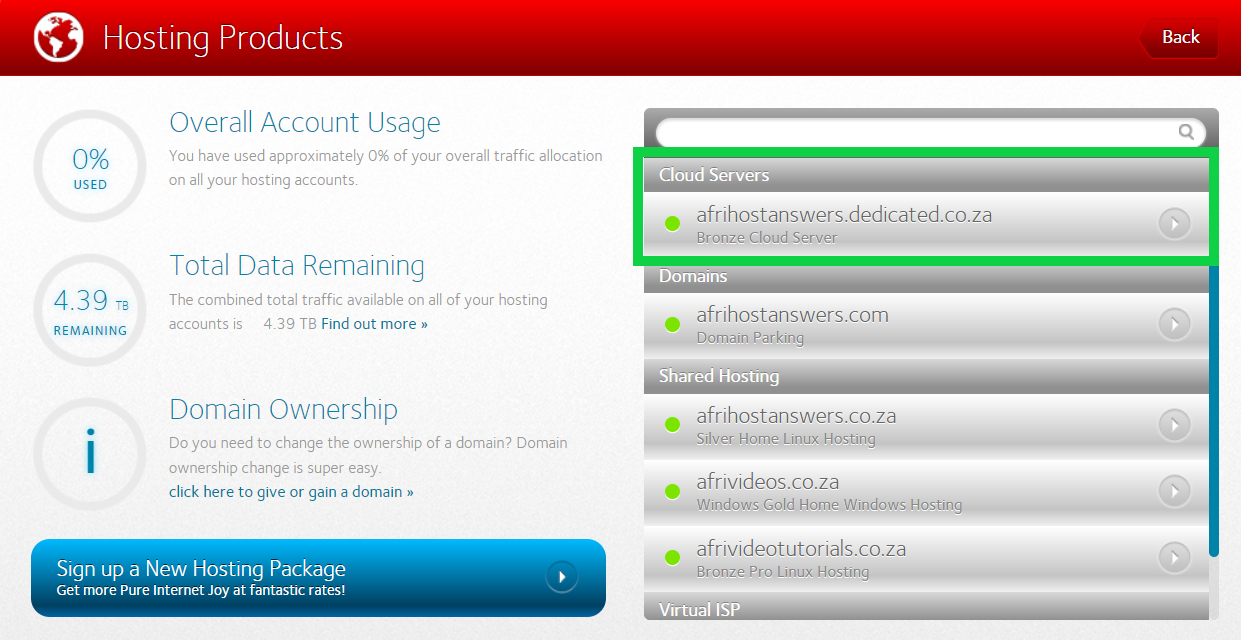
- Select the Cloud server account from the list of Hosting products on the right-hand side.
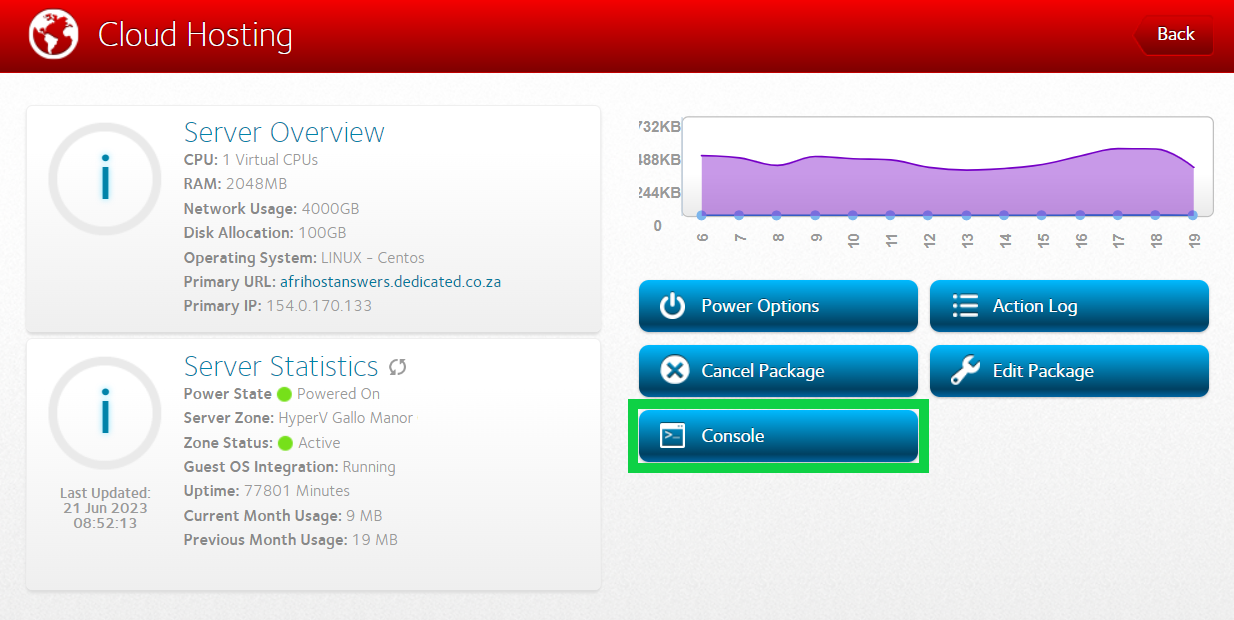
- Click on the ‘Console' button.
- Click on ‘Go to my Console’.
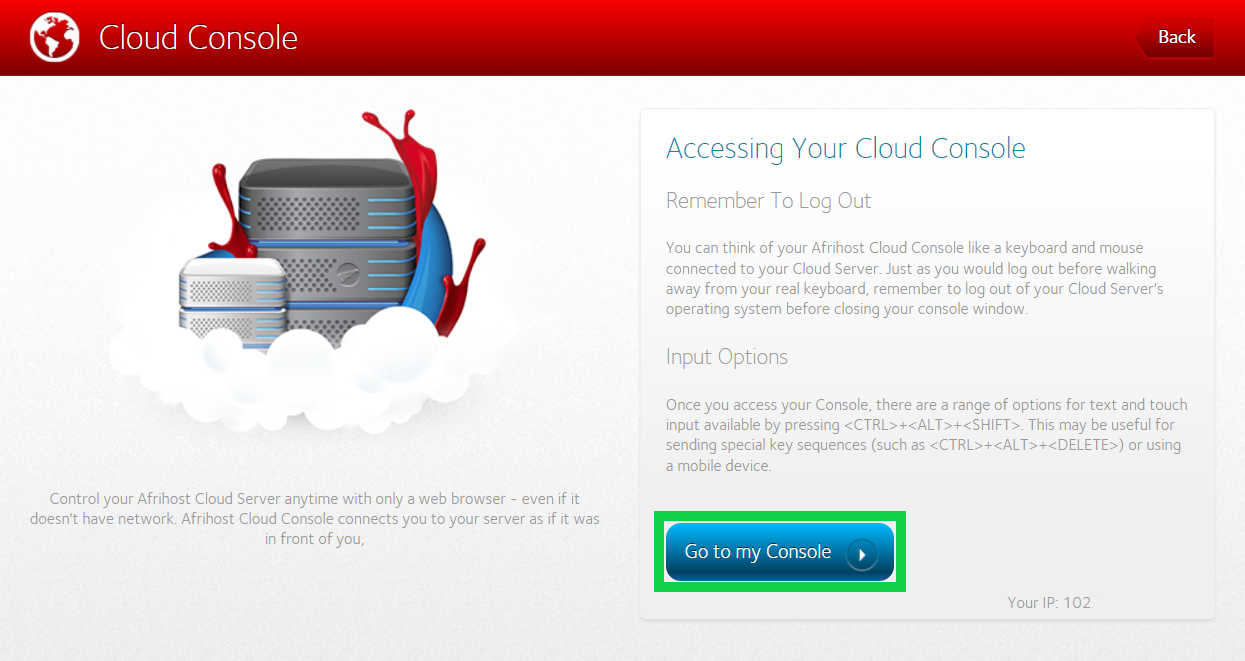
The console will open on a new window.
- Enter the login: root
- Enter your password then press enter.
If you are not sure what your server password is, please refer to the welcome email received after signing up.

- You have successfully logged into the server.
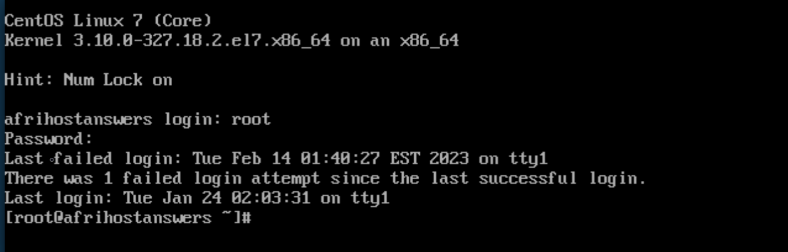
You can now begin to utilise the server.
1.2. How to access your server via SSH
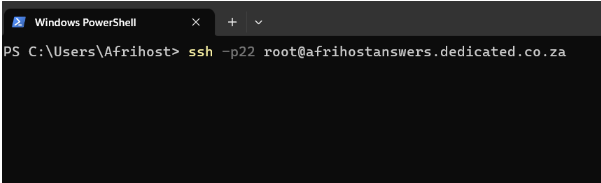
- Open a terminal or command prompt on your computer.
- Type in: ssh -p22 root@servername (replace with the name of your server) then press enter.
- On the next screen, enter the login: root
- Enter your password then press enter.
If you are not sure what your server password is, please refer to the welcome email received after signing up
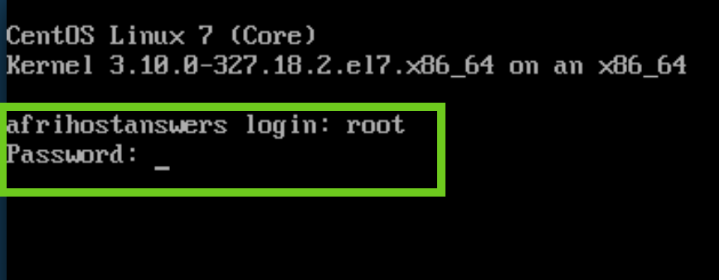
- You have successfully logged into the server.

You can now begin to utilise the server.
2. How to access your Windows server
Windows hosting is specifically designed to support Microsoft products and technologies, including ASP.net, ASP, MS Access, Microsoft SQL Server, and VBScript. These tools enable you to create dynamic and interactive web applications, databases, and scripting solutions. With Windows hosting, you can leverage the power and compatibility of Microsoft technologies to build and deploy web applications, databases etc. The ability to access your Windows server via Remote Desktop provides a convenient and familiar interface for managing your hosting environment effectively.
How to access your Windows server via Remote Desktop (RDP)
To access your Windows server, you will need to install the Remote Desktop App. Please follow the steps below:
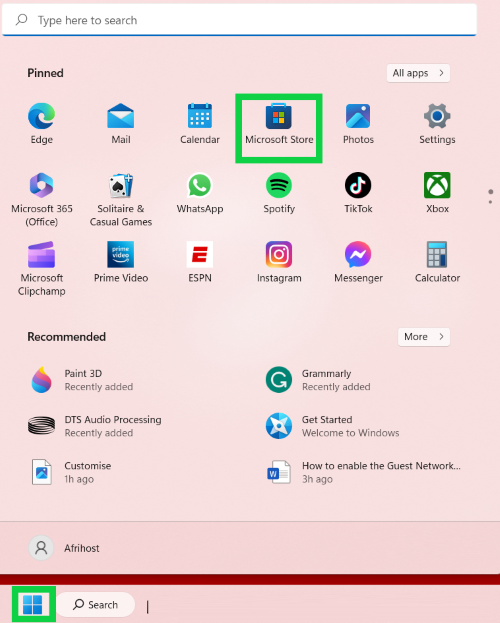
- Click on the Windows icon located in the bottom left corner of your screen to open the Windows menu.
- Locate the ‘Microsoft Store’ icon and click to open it.
- The Microsoft Store app will open, enter 'Remote Desktop' in the search bar and press the Enter key.
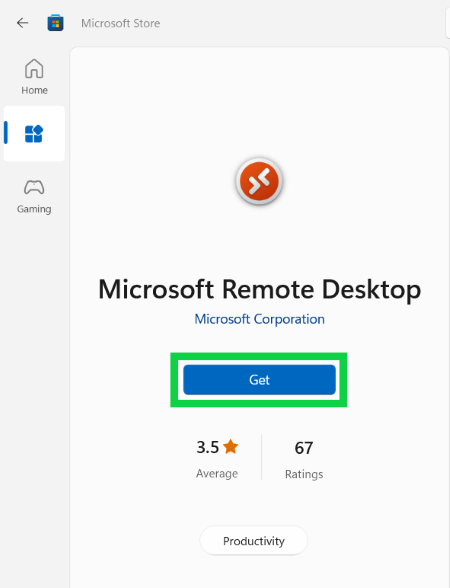
- Select the 'Microsoft Remote Desktop' option from the displayed results.

- Click on the ‘Get’ button to initiate the download process.
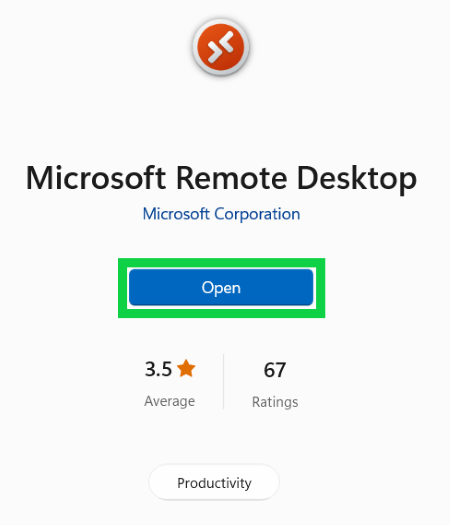
- Click on the ‘Open’ button to launch the App.
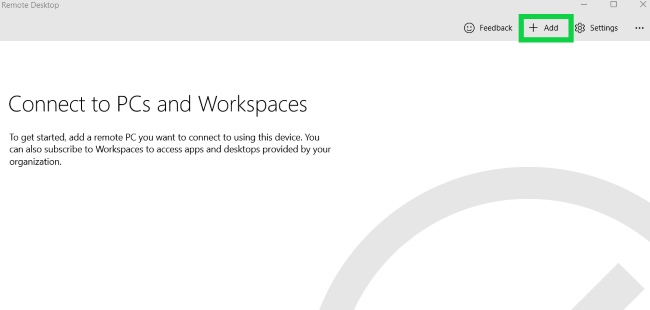
- Click on the ‘Add’ button located at the top-right corner of the screen.
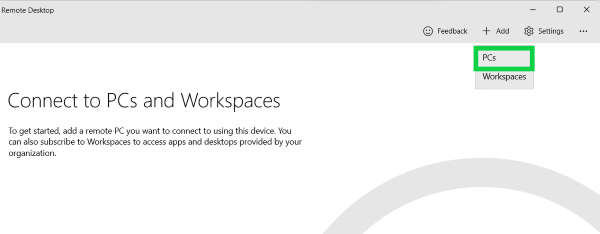
- Select ‘PCs’ from the dropdown menu.
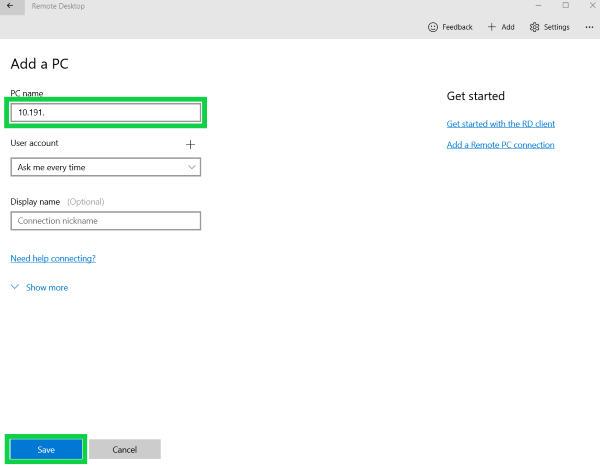
- Enter your server’s IP address as the PC name.
- Click on the ‘Save’ button to proceed.
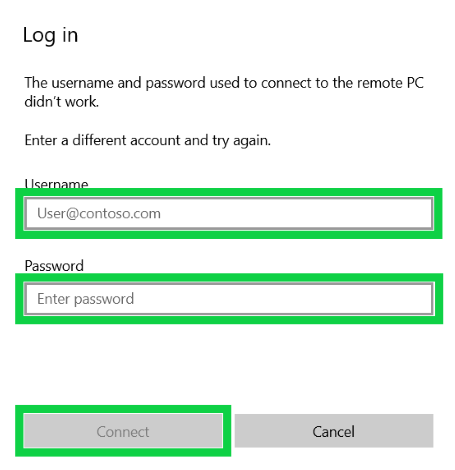
- Double-click on the PC icon to initiate a connection to the server.
- Enter the username and password of your server.
- Click on the ‘Connect’ button to establish a connection
If you are not sure what your server password is, please refer to the welcome email received after signing up.
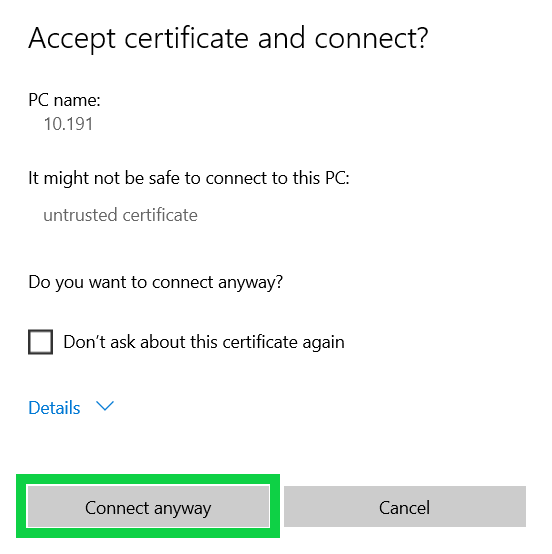
- If you encounter a certificate warning screen, click on the 'Connect Anyway' option to proceed.
- You have successfully logged into your Windows server.
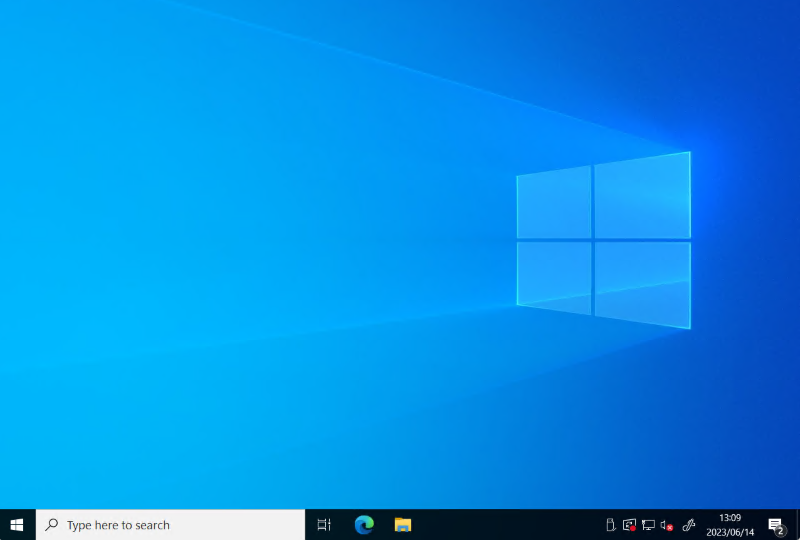
You can now begin to utilise the server.