

Website hosting
How to connect your cPanel server to WHMCS

Clients may choose to integrate their cPanel server with their WHMCS service. This integration allows clients to manage their billing and account services more efficiently, ensuring that all automated processes such as a suspension in the event of a failed payment are handled seamlessly. By linking the cPanel server to WHMCS clients can reduce billing errors and streamline service management, providing both better control over their accounts and a smoother experience for their clients.
How to add a cPanel server on WHMCS
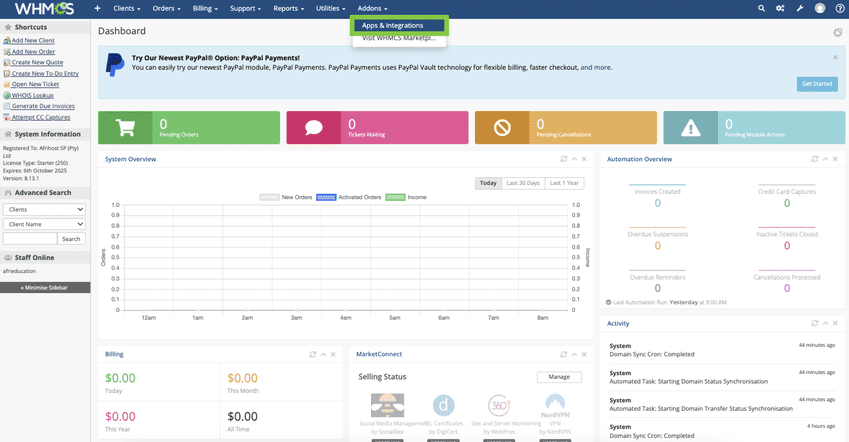
- Log into the WHMCS portal.
- Go to ‘Addons’ at the top and select ‘Apps & Intergrations’ from the drop-down options.
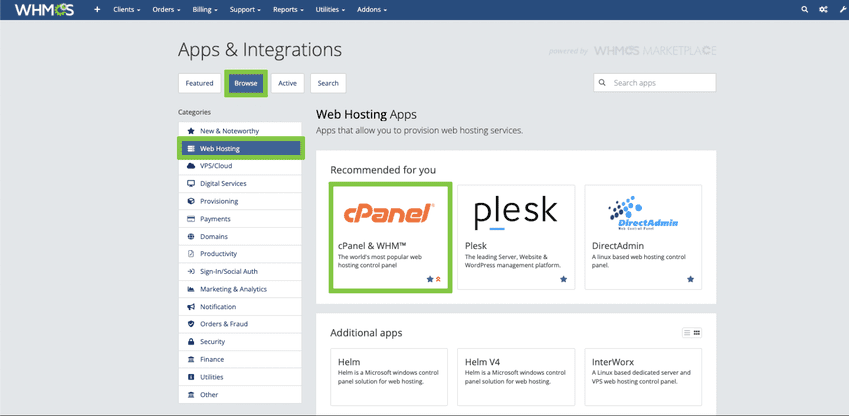
- Select ‘Browse’ from the tabs above.
- Under Categories, select ‘Web Hosting’ to view the available web hosting options.
- Select the ‘cPanel’ web hosting app.
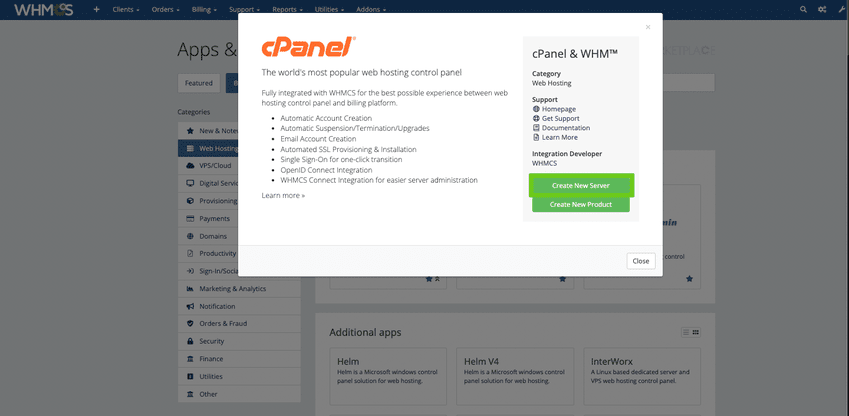
- Select ‘Create New Server’ to continue and add your cPanel server.
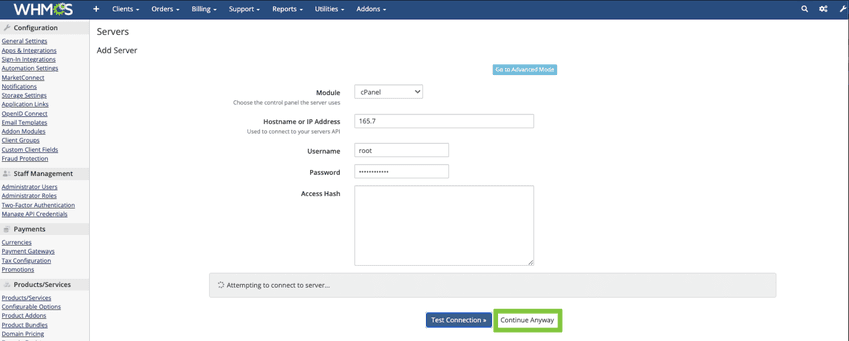
- Enter your server details to continue with the setup.
- Select ‘Test Connection’ to verify the entered details.
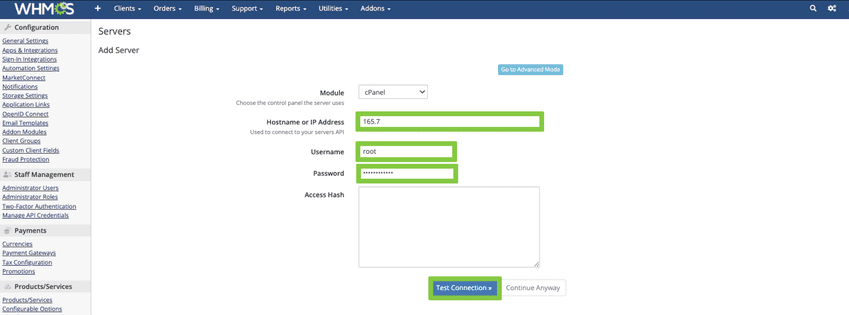
- If the connection attempt takes longer than expected, select ‘Continue Anyway’.
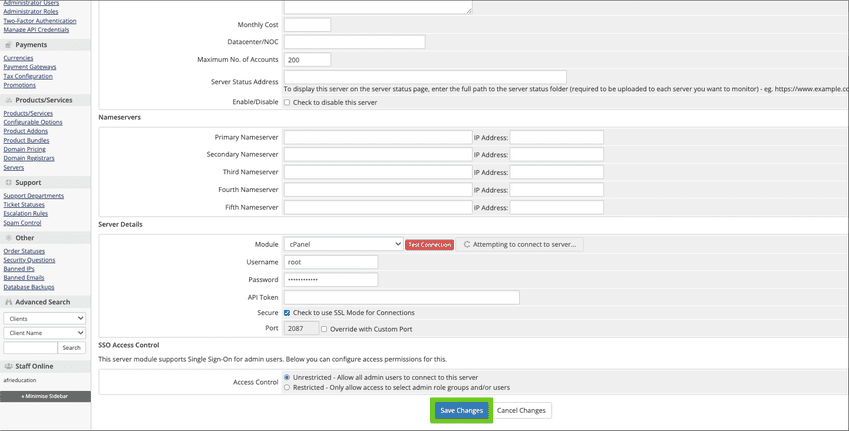
- Ensure all required server details have been entered correctly.
- Select ‘Save Changes’ to proceed.
- A confirmation message will appear once the server has been successfully added.
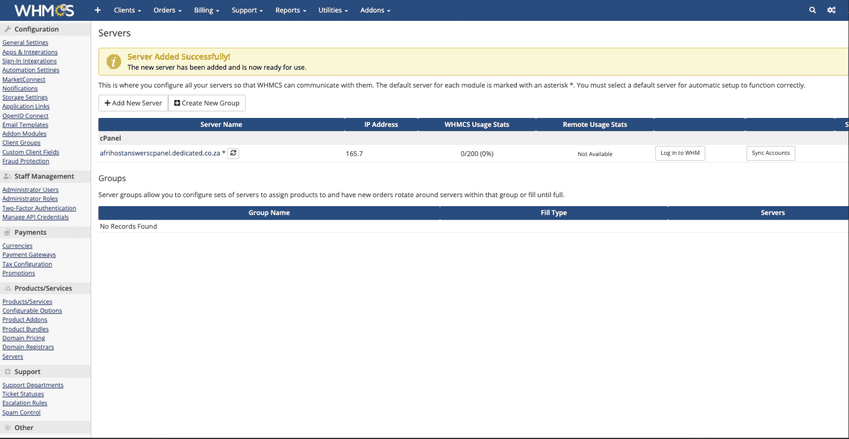
You have successfully linked your cPanel server to WHMCS.