

How to install Joomla CMS in cPanel
Joomla is a popular open-source content management system (CMS) that allows individuals and organisations to build and manage websites and powerful online applications. Joomla offers a user-friendly interface that enables users, regardless of their technical expertise, to create and update website content efficiently.
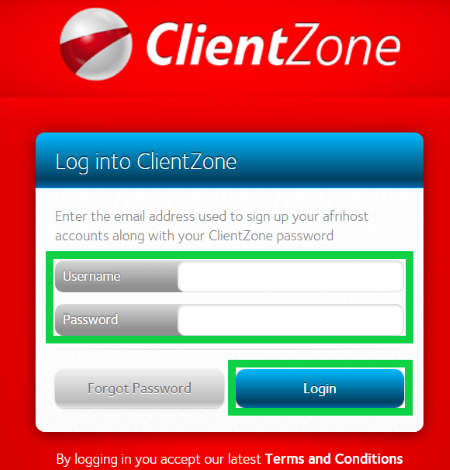
- Log into ClientZone.
- Enter your ClientZone username and password and click ‘Login’.
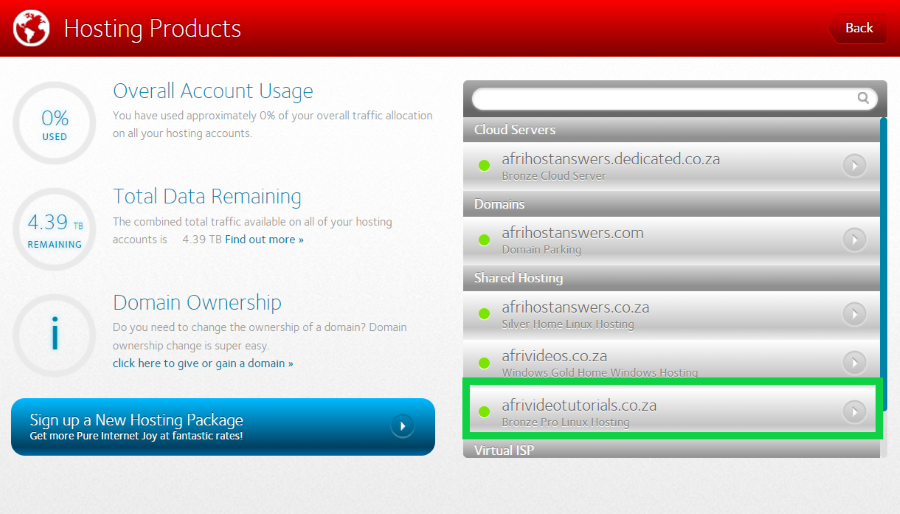
- Select the ‘Hosting' tab.

- Select the domain you wish to install Joomla CMS on.
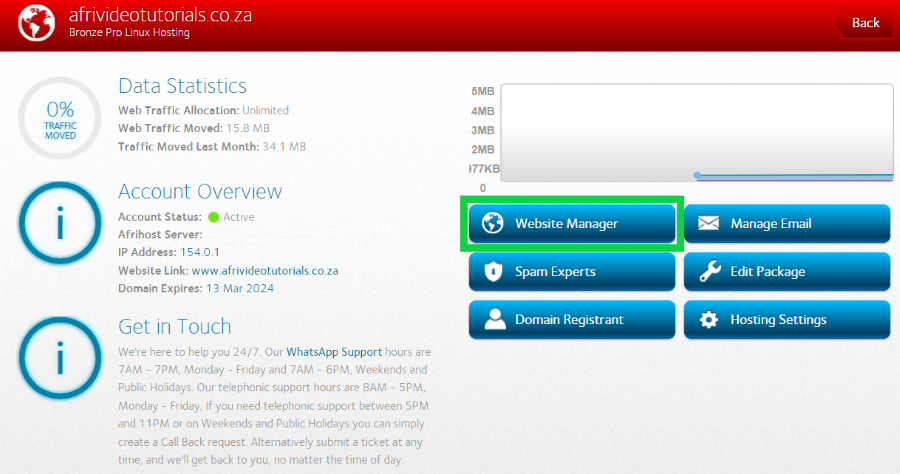
- Click on the ‘Website Manager’ button.
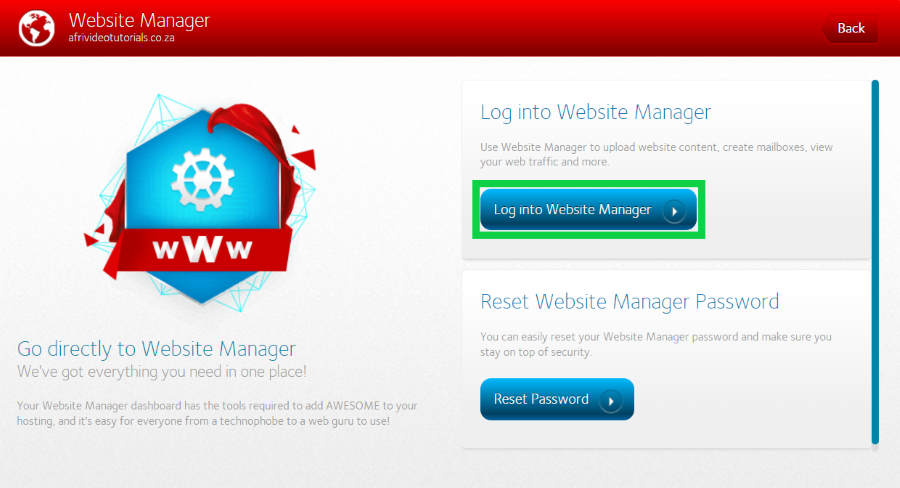
- Click on ‘Log into Website Manager’.
The cPanel dashboard will load.
Before you proceed, check to make sure that you have an unused database allocation slot available. This can be found under ‘Statistics’ on the right-hand side.
- Scroll down to Software and select ‘Softaculous Apps Installer’.
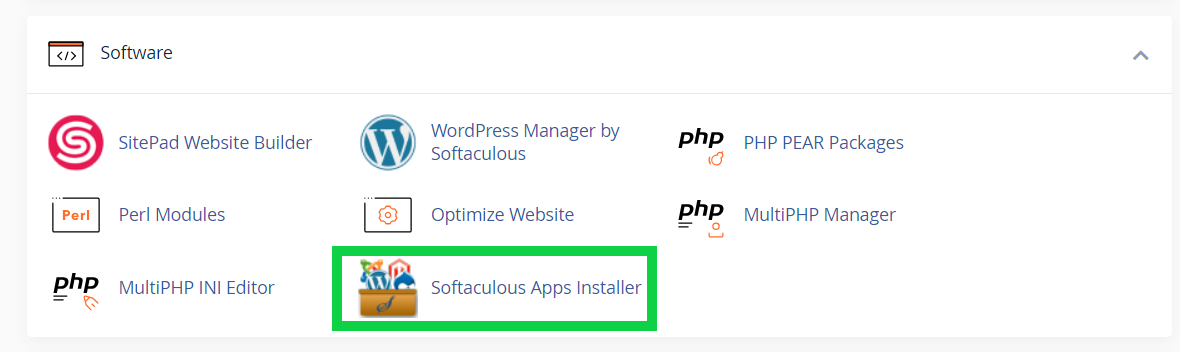
The Softaculous page will load with all the available applications.
- Select ‘Install’ under Joomla.

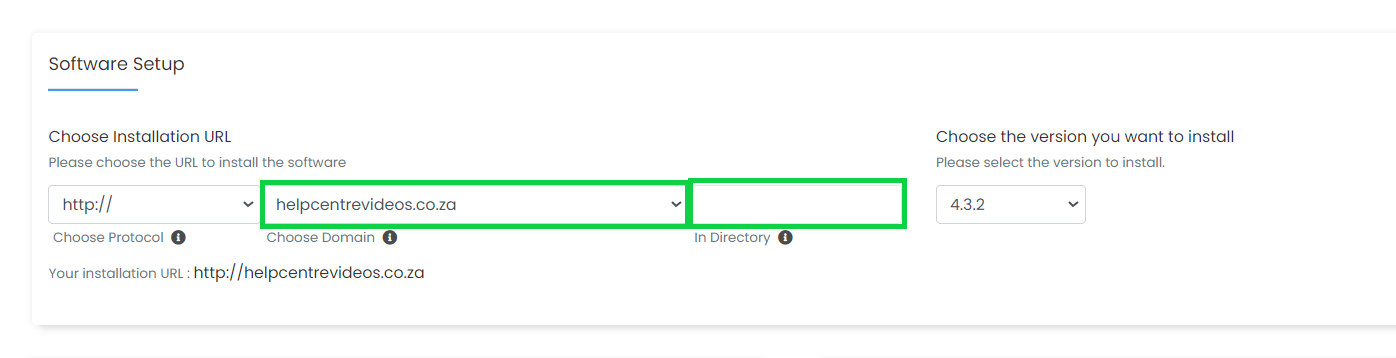
At this stage, the software setup page will load.
- Under ‘Choose Installation URL’ select the domain or subdomain you want to install Joomla to.
- Remove the text under ‘In Directory’ if you want your Joomla installation to load in the main domain without a forward slash.
- Under the Site Settings section: enter the ‘Site Name’ and ‘Site Descriptions’
- Under the Admin Account section on the right: enter an ‘Admin username’ and ‘Password’ of your choice.
- Scroll down and select ‘Install’ to proceed.

- Once the installation is completed successfully, Click the ‘Return to Overview’ button.
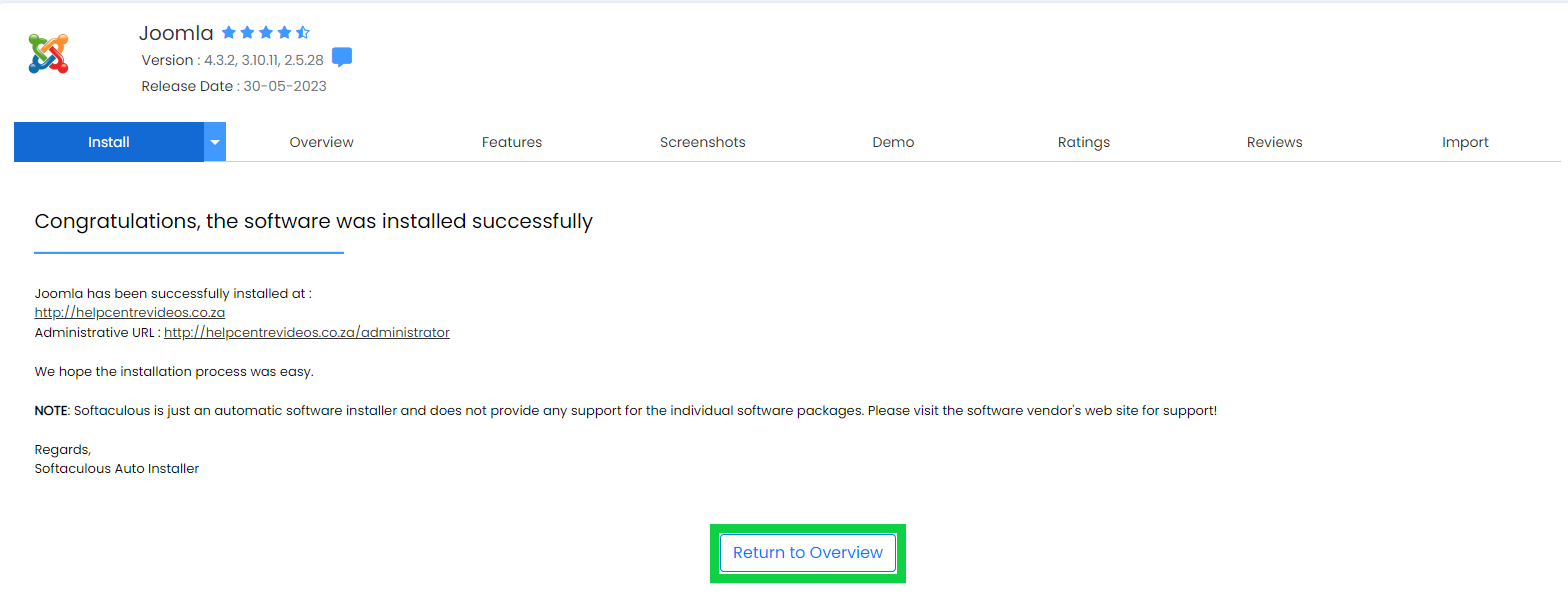
Congratulations! You have successfully installed Joomla CMS in cPanel. You can now access the administrator dashboard by clicking on the provided link and start customising and managing your Joomla website.
How to install Joomla CMS in cPanel
03:09