

Email
How to create an email signature in Outlook Office 365
An email signature is a powerful tool that allows you to provide essential contact information and make a professional impression when sending emails. An email signature can include text, images, your electronic business card, a logo, or even your handwritten signature. In Outlook Office 365, you can easily create and customise your own email signature.
Follow the instruction below to create an email signature in the Outlook Office 365 App
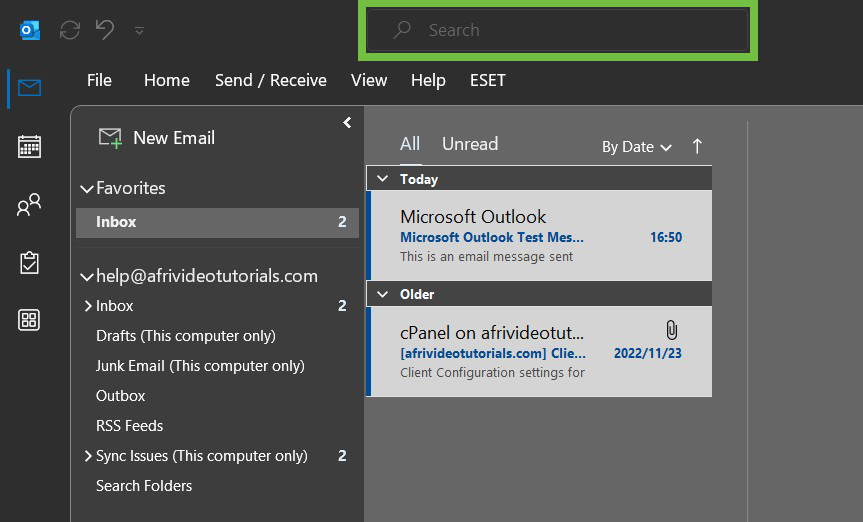
- Open Outlook Application and enter 'Signatures' in the search bar located at the top of the interface.
- Under the Actions menu, select 'Signature’.

- Click on the 'Signatures’ option on the right-hand side.

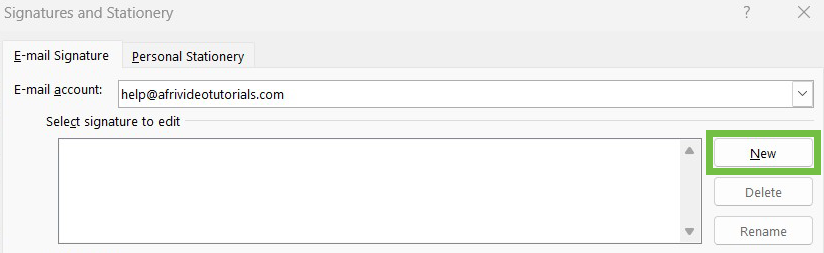
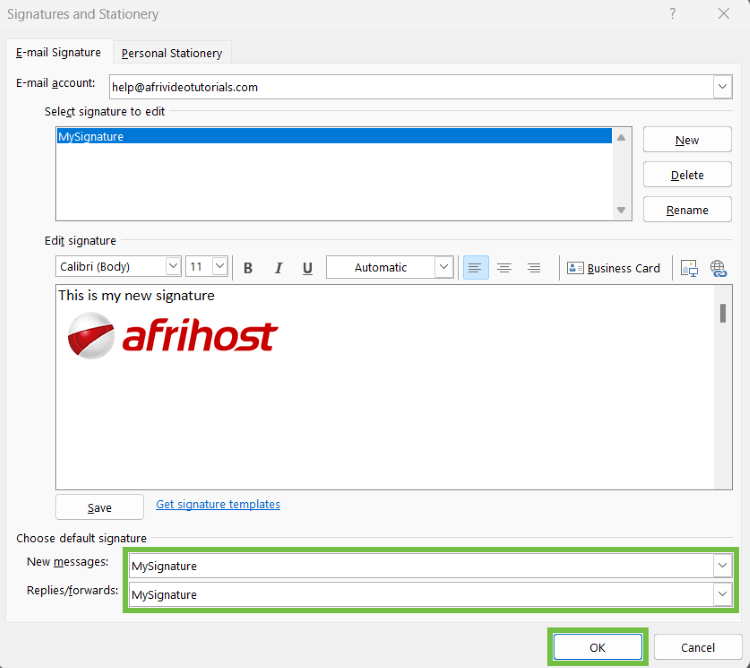
- In the E-mail Signatures window, click on the 'New' button to create a new signature.
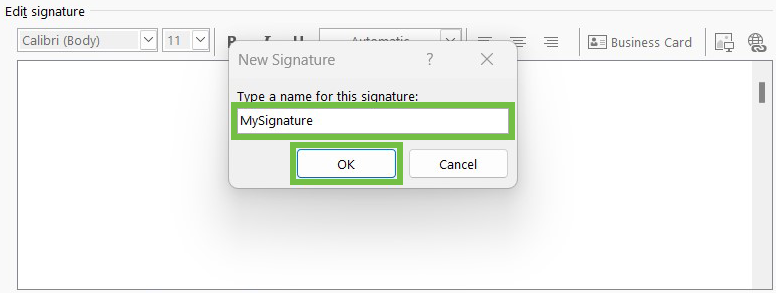
- Enter a name for your signature and click ‘OK’.
- In the ‘Edit signature’ box, you can start creating your email signature.
- You can enter your name, job title, contact information, and any other details you want to include.
- You can format the text, change the font, add images, and even include hyperlinks.

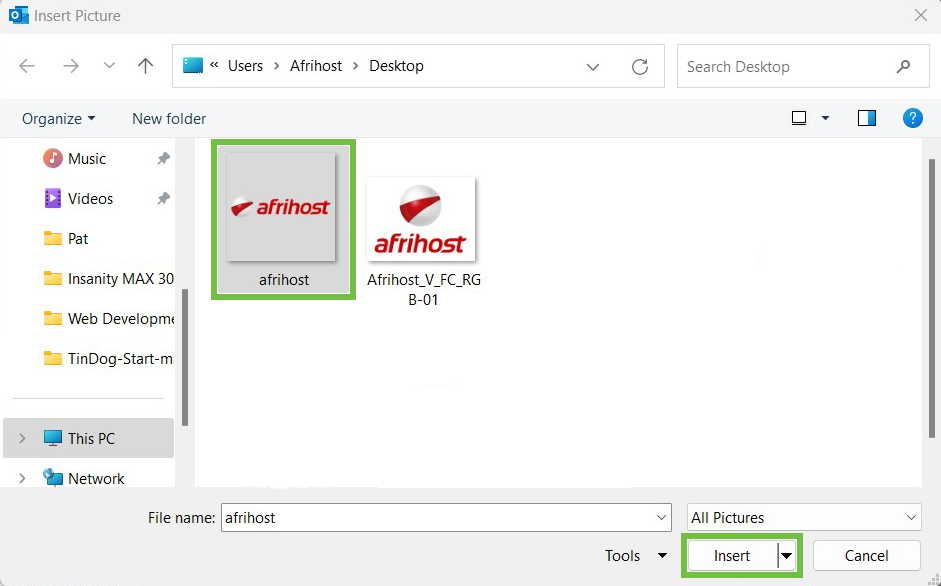
- To insert an image, like your company logo, click on the image icon at the top left corner of the signature box
- Browse the image file from your computer.
- Select the imagine file then click on the ‘Insert’ button.
- Under the Choose default signature section, use the drop-down menus to select the signature you just created for ‘New messages’ and ‘Replies/forwards’.
- Click on the ‘OK’ button to save and close the Signatures window.
Congratulations! You have successfully created a new signature. When you compose a new email or reply to an email, your email signature will be automatically added based on the settings you selected.