

How to create a 360 Monitoring account via WHM
360 Monitoring is a powerful tool that allows you to track the performance and health of your servers in real time. By integrating it with WHM (Web Host Manager), you can proactively monitor critical metrics such as uptime, resource usage and server response times all from a single interface. Setting up a 360 Monitoring account via WHM ensures you receive instant alerts and insights, helping you maintain optimal server performance and prevent potential issues before they affect your clients.
In this article, we will walk you through the steps on how to create your 360 Monitoring account directly through the WHM interface.
How to create a 360 monitoring
- Log into the WHM portal.
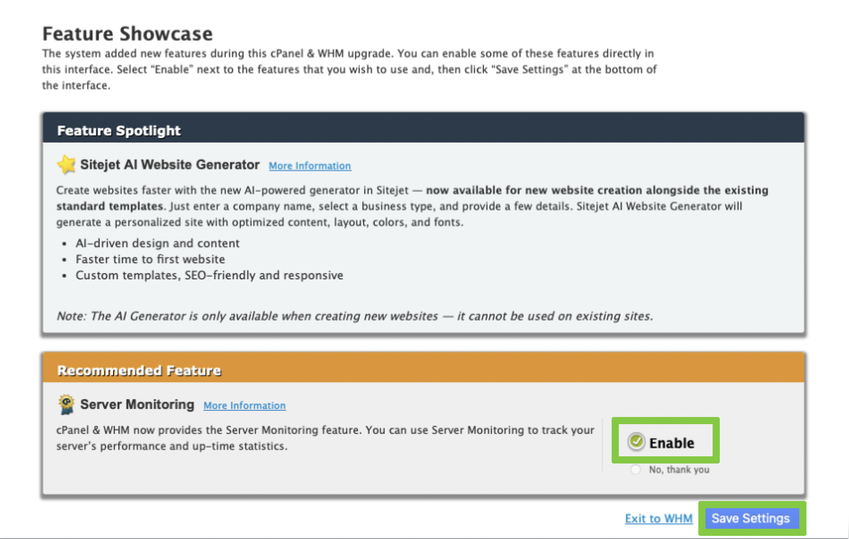
- When logging into WHM, you may be prompted with a setup screen, ensure that ‘Server Monitoring’ is enabled.
- Select ‘Save Settings’ to proceed.
- Scroll down to the ‘Plugins’ section and select ‘Server Monitoring’ below.
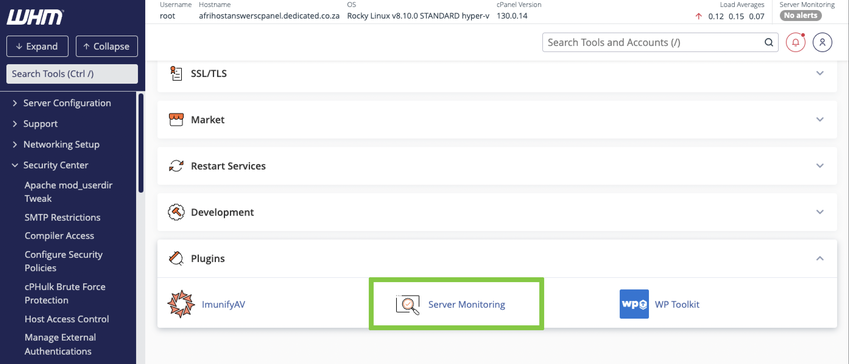
If you would like to know How to add the server monitoring plugin to WHM read our Help Centre article for assistance.
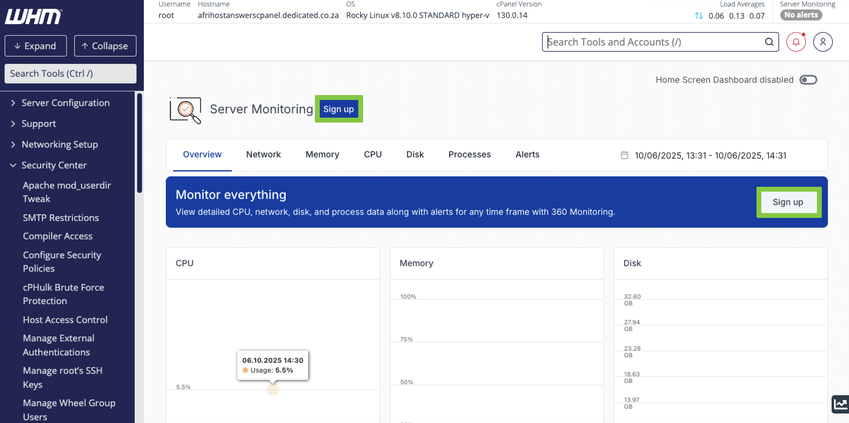
- Select ‘Sign Up’ at the top to begin creating your account.
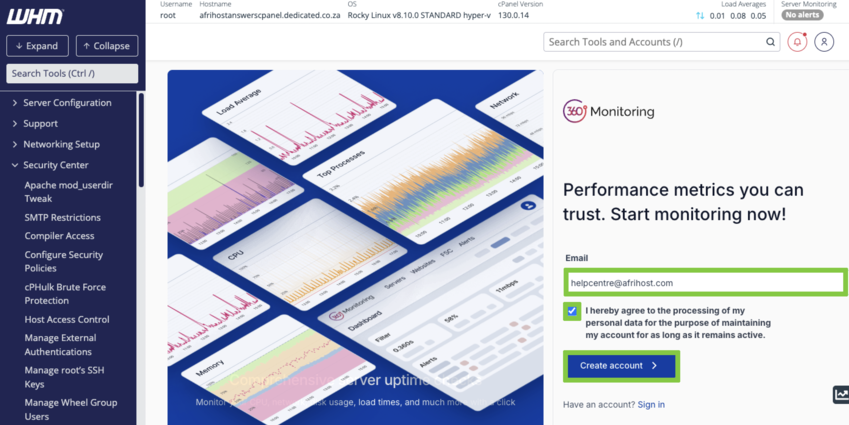
- Enter your email address.
- Tick the checkbox to agree to the ‘Terms & Conditions’.
- Select ‘Create Account’ to continue. If you already have an account, select Sign In instead.
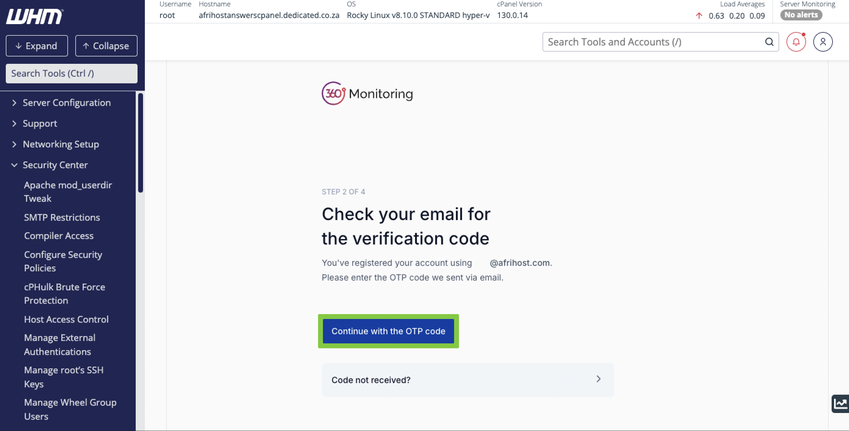
- A verification email will be sent to your inbox.
- Once you receive the OTP code, select ‘Continue with the OTP code’.
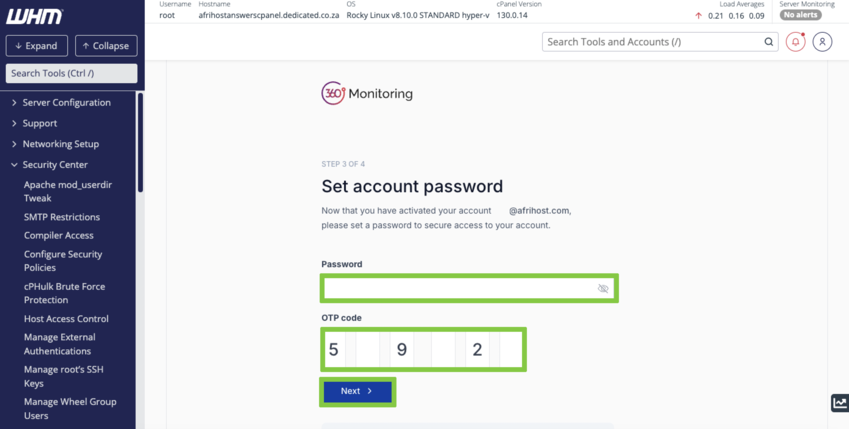
- Create a secure password for your 360 Monitoring login portal.
- Enter the OTP code and select ‘Next’ to proceed.
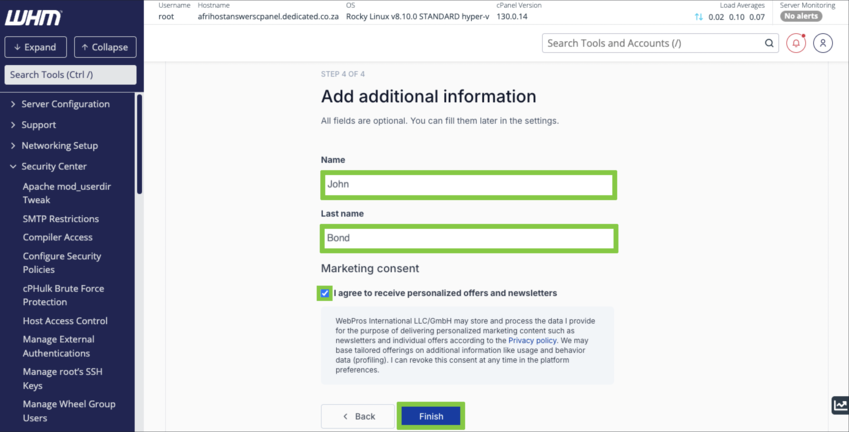
- Complete your profile details.
- Tick the checkbox to agree to the Terms & Conditions, then select ‘Finish’.
- ‘Enable Home Screen Dashboard’, found at the top right of the screen, to display monitoring alerts directly on your WHM interface.
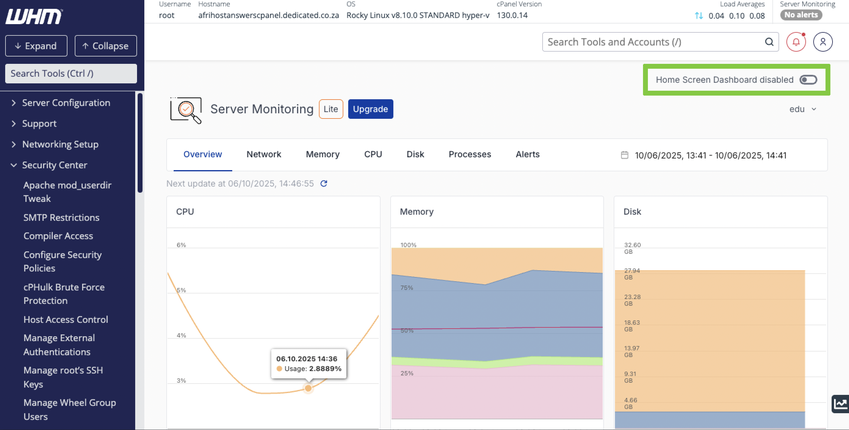
You have successfully created your 360 Monitoring account.