

Email
How to create a signature in Afrihost Pure mail webmail
Setting up a professional email signature is important for effective communication in today's digital age. Whether you're a business professional looking to make a lasting impression or simply want to add a personal touch to your emails, this will help you stand out in your virtual correspondence. In this step-by-step guide, we will walk you through the process of creating and configuring your email signature on Afrihost Pure Mail webmail.
Important!
A signature created in a webmail client will only be displayed in your emails when you use webmail to send an email.
Follow these steps to create a signature in Afrihost Pure Mail webmail
- Open a web browser and access your Afrihost Pure Mail webmail.
How to access my Pure Mail webmail?
Please read the How to access Afrihost Pure Mail webmail, article for more information.
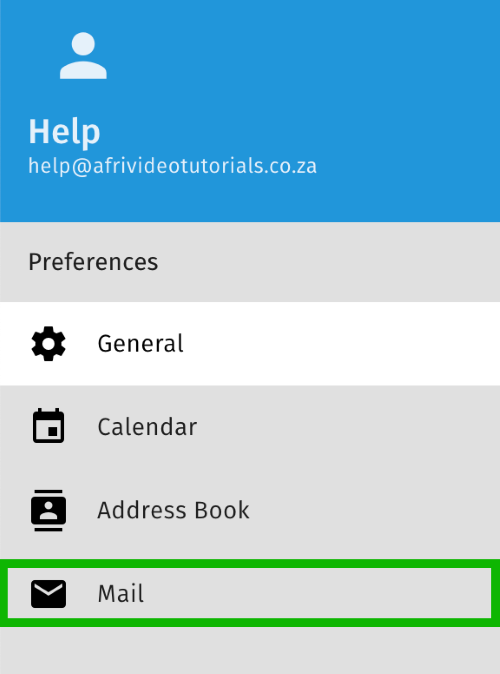
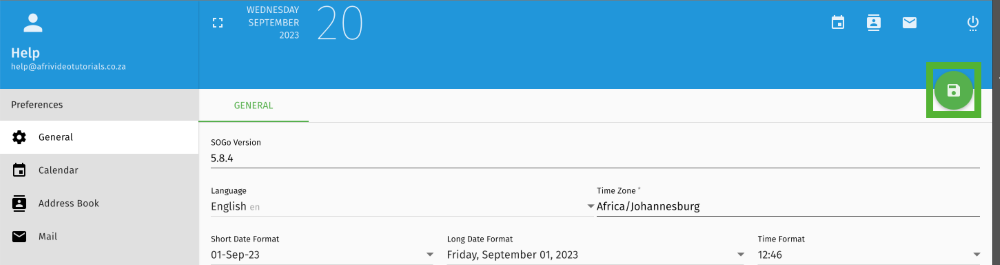
- Once logged in, select preferences (gear icon) on the left-hand-side, next to your email address.
- Select ‘Mail’ on the left menu.
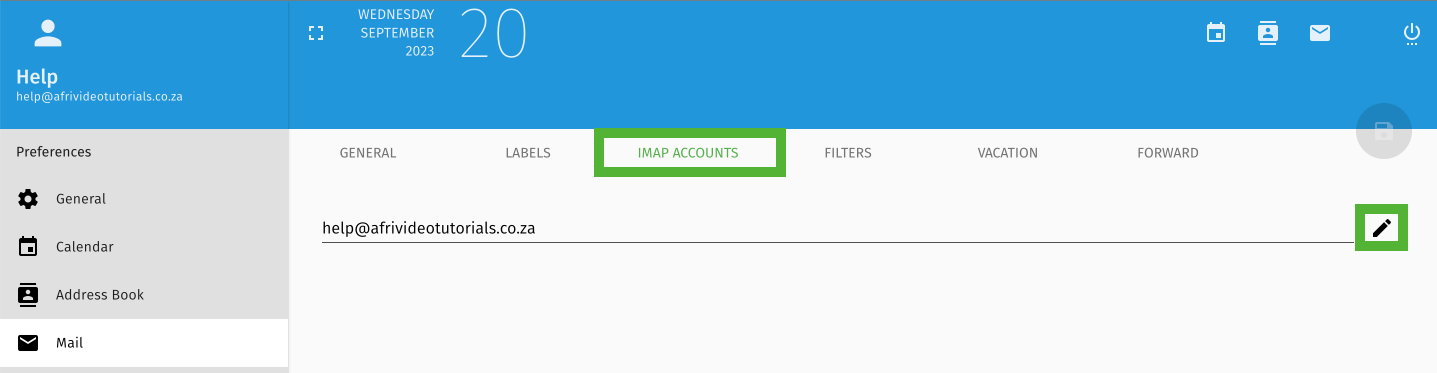
- Select ‘IMAP Accounts’ on the right-hand side and click the pencil icon next to your email address.
- Select ‘New Identity’ to create a new identity.
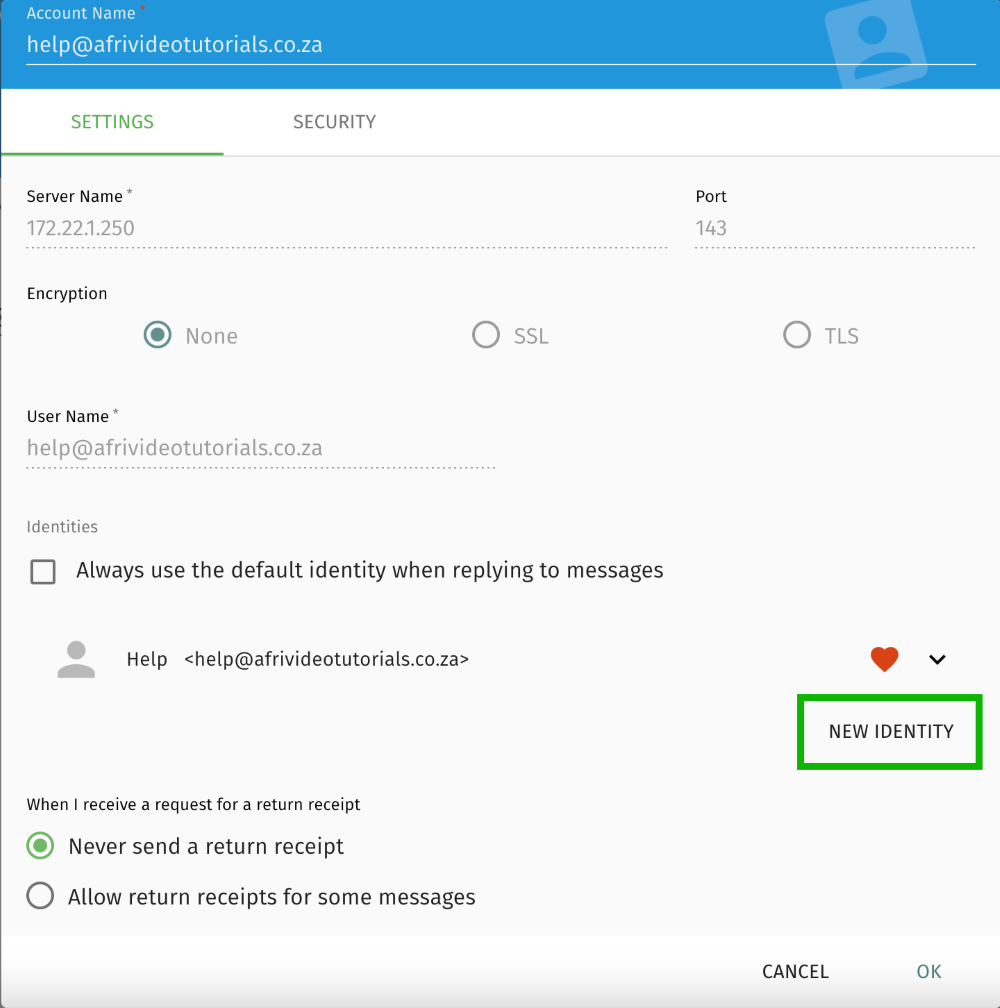
- Fill in the require details on the form.
- Under Signature, enter the text you want to show on your signature.
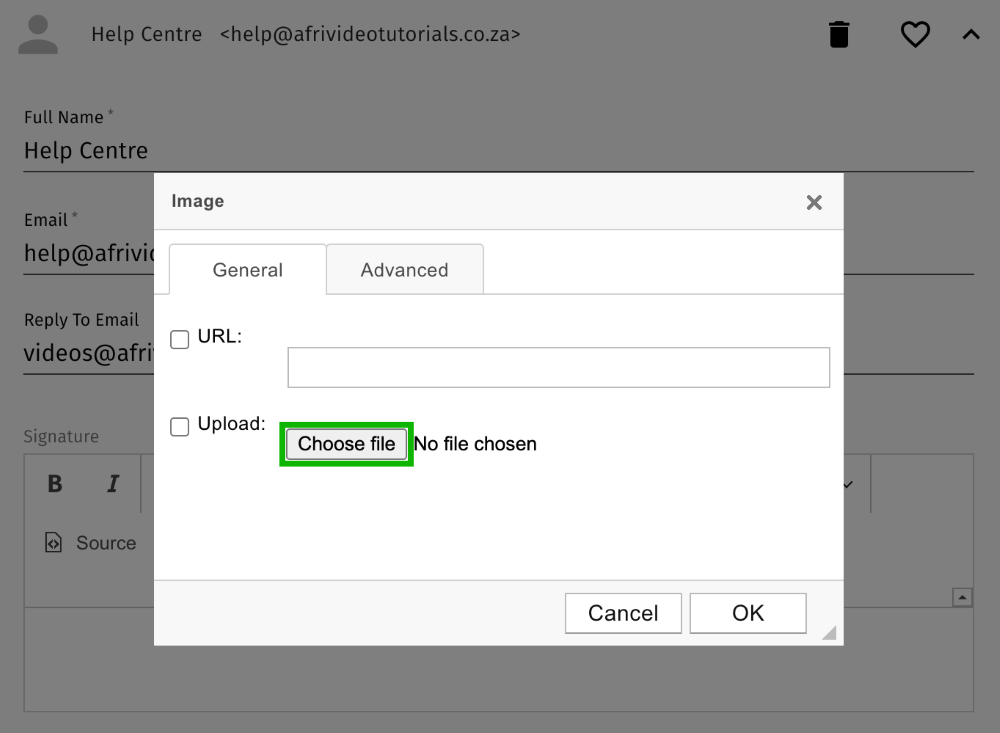
- Click the image Icon to attach an image of your logo or image-based signature.
- Select ‘Choose file’ to upload your image file.
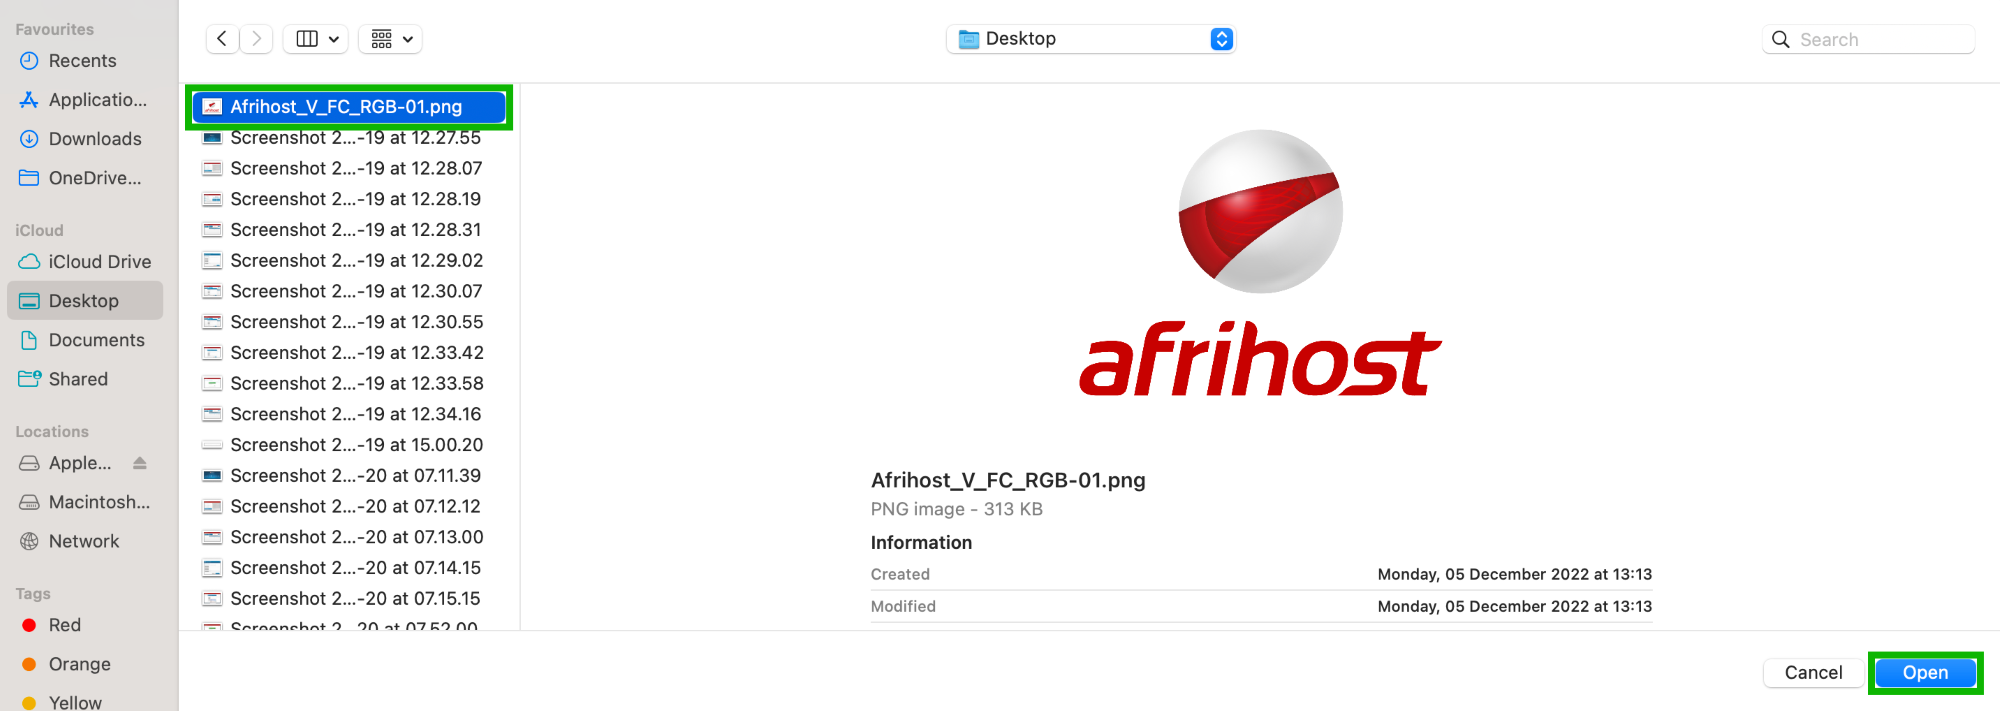
- Browse for your image file on your computer, select it and click the ‘Open’ button to open it.
- Click the ‘OK’ button to upload the selected image file.
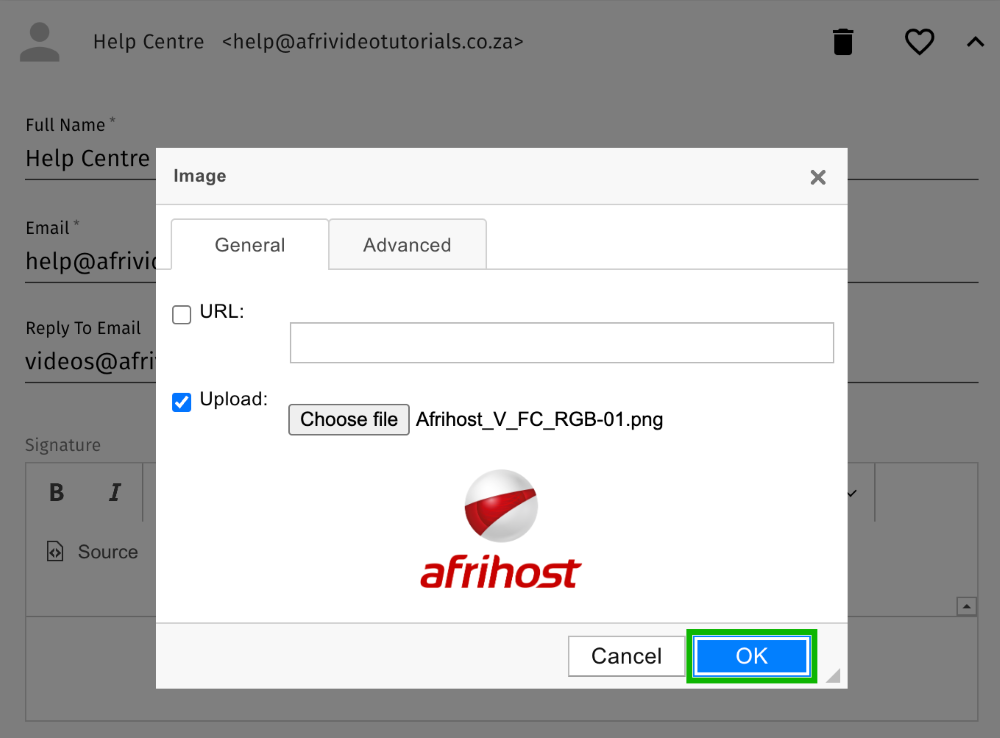
- The uploaded image will be displayed, click the ‘OK’ button to proceed.
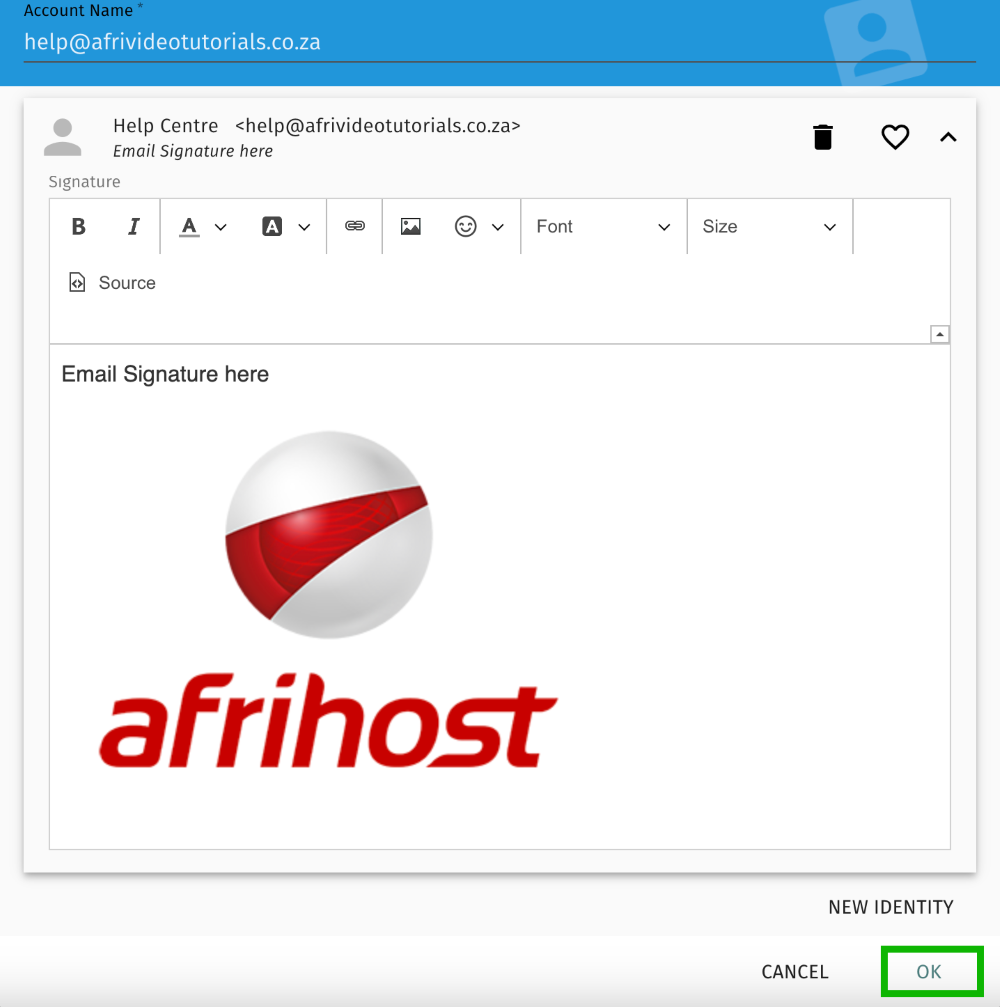
- Finally, click the disk icon on the right-hand side to save the changes.
Congratulations! You have successfully created a new signature.