

How to create a website and add a theme in SiteBuilder
SiteBuilder is a handy tool that helps you to create your own website professionally and effectively.
SiteBuilder gives you a variety of customisable templates to choose from with an easy to use drag and drop tool to make website design easy.
Choose a theme to start using Website Builder. Choosing the theme will populate some of the pages which can be edited further.
Create a website and add a theme on SiteBuilder.
- Log into ClientZone.
- Select the ‘Hosting’ tab.

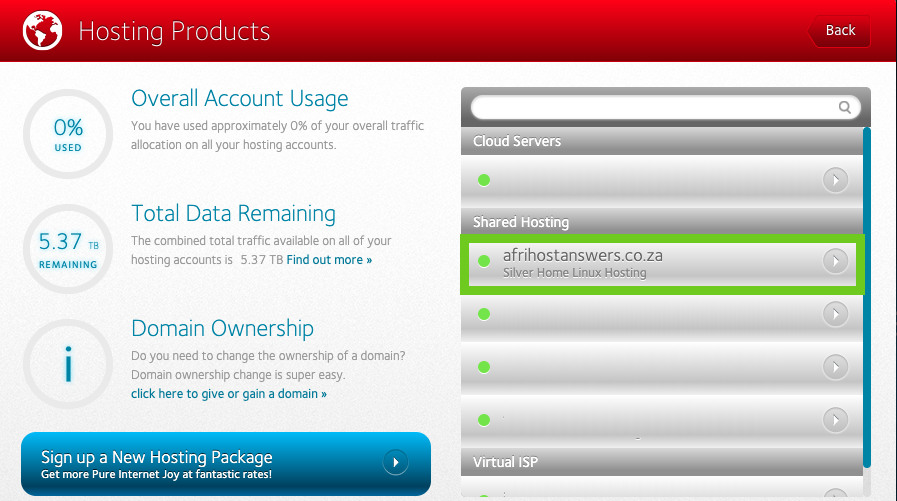
- Under the Shared Hosting section, select the domain you wish to edit from the list on the right-hand side.
- Click on the ‘Website Manager’ button.
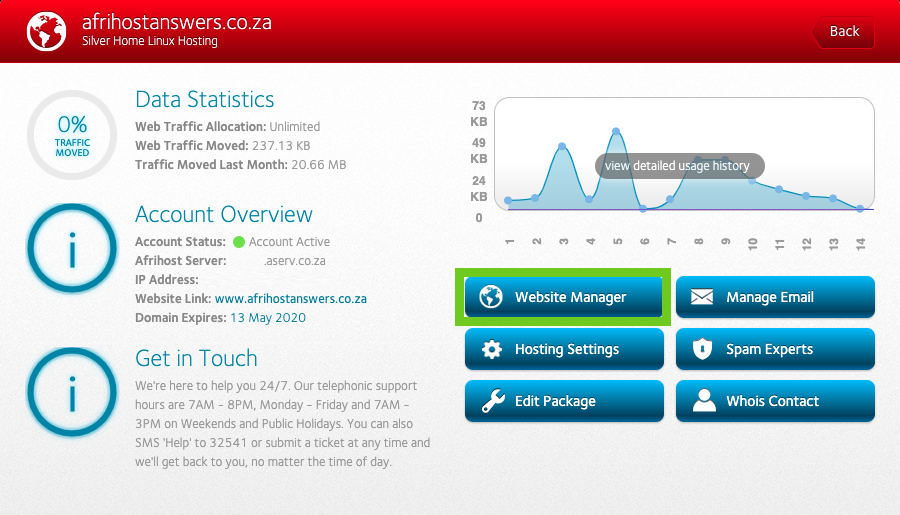
- Select ‘Log into Website Manager’.

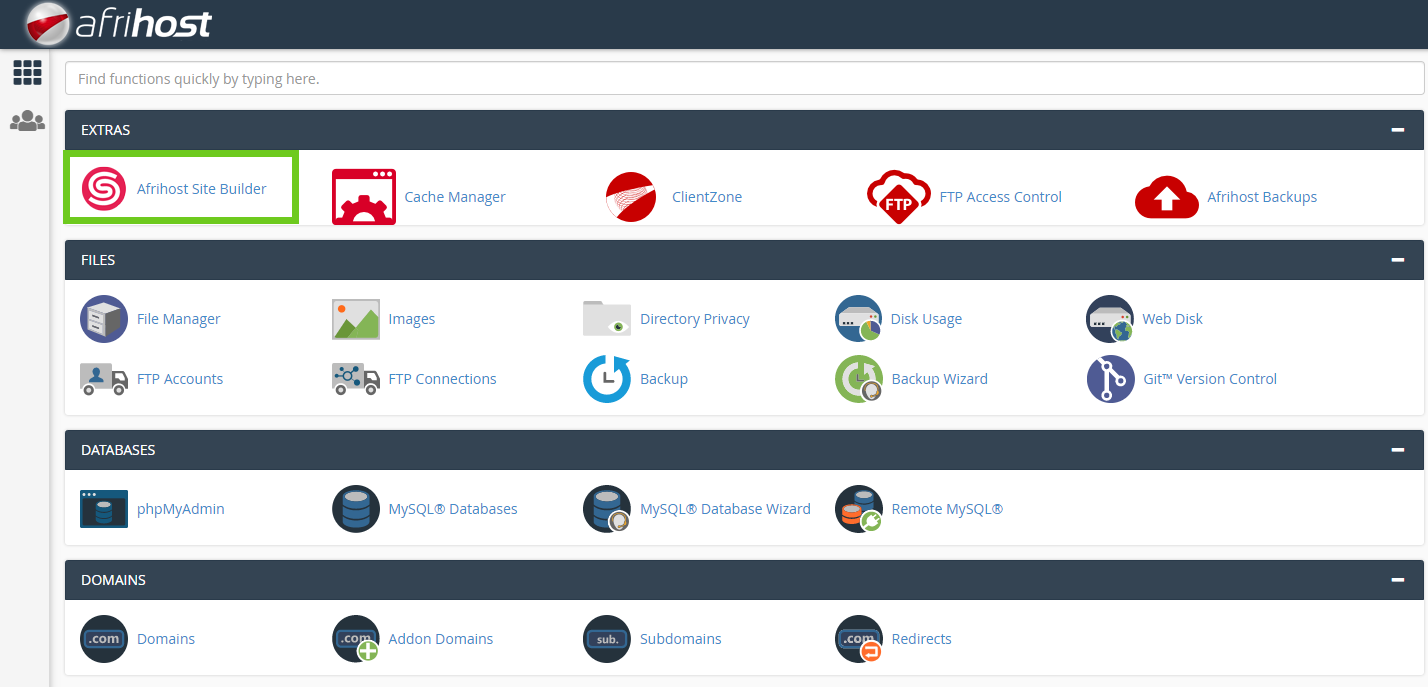
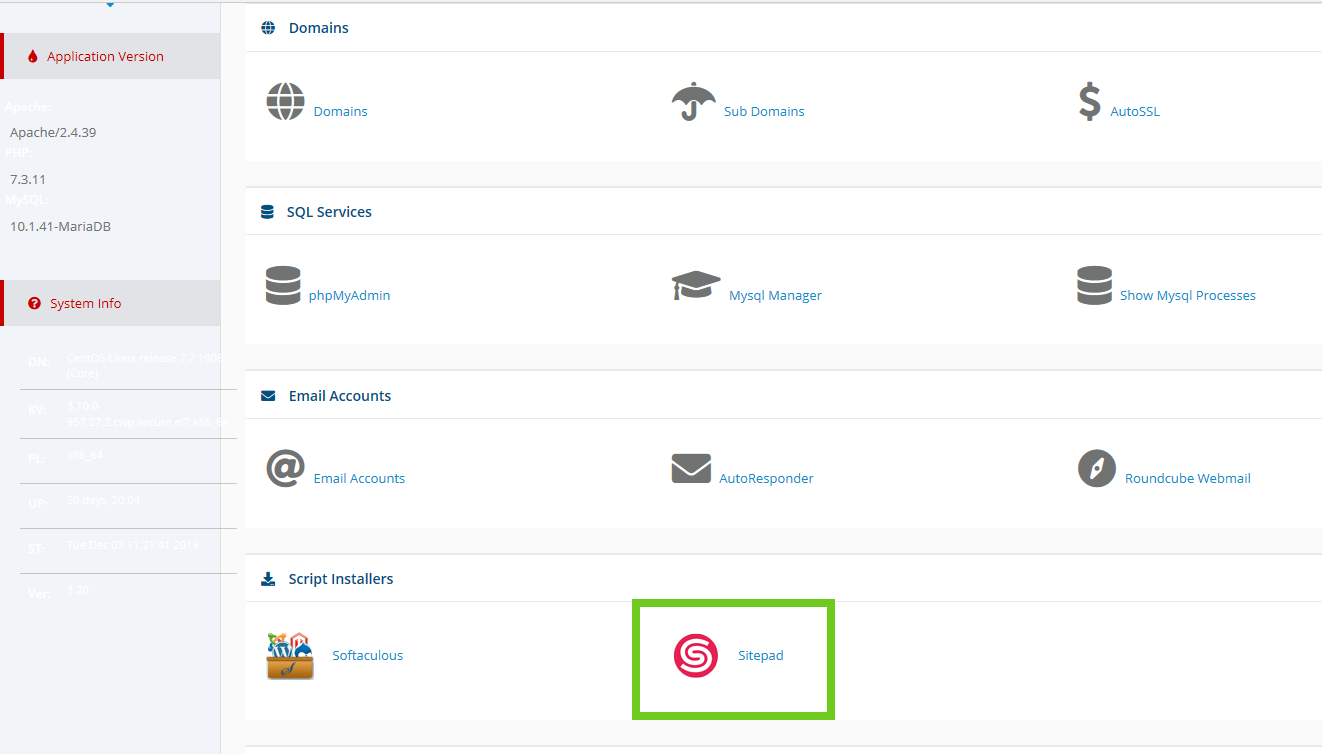
- Select ‘Afrihost Site Builder’ in cPanel or select ‘Sitepad’ in your CWP control panel.
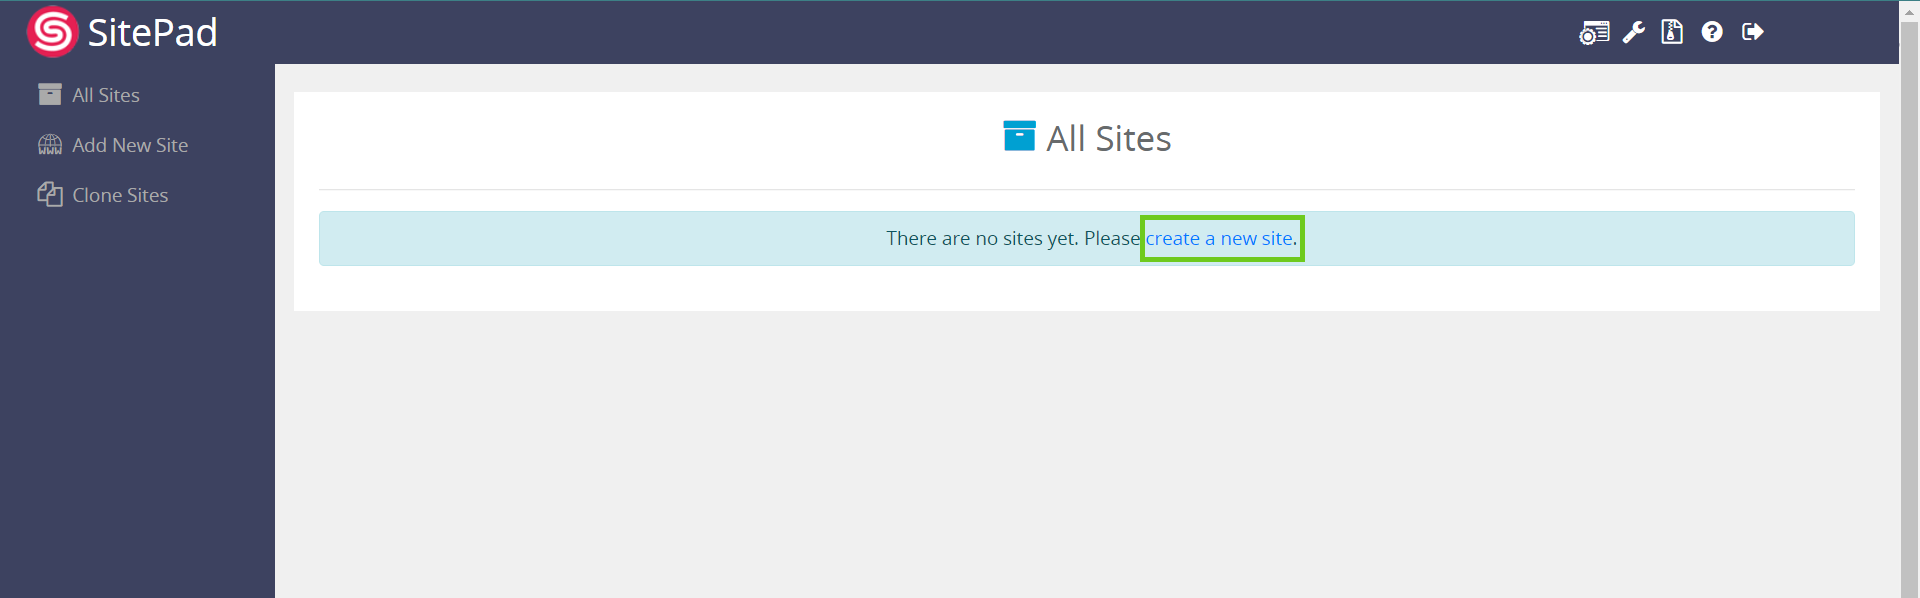
This will take you to the SiteBuilder dashboard.
- Click on ‘create a new site’.
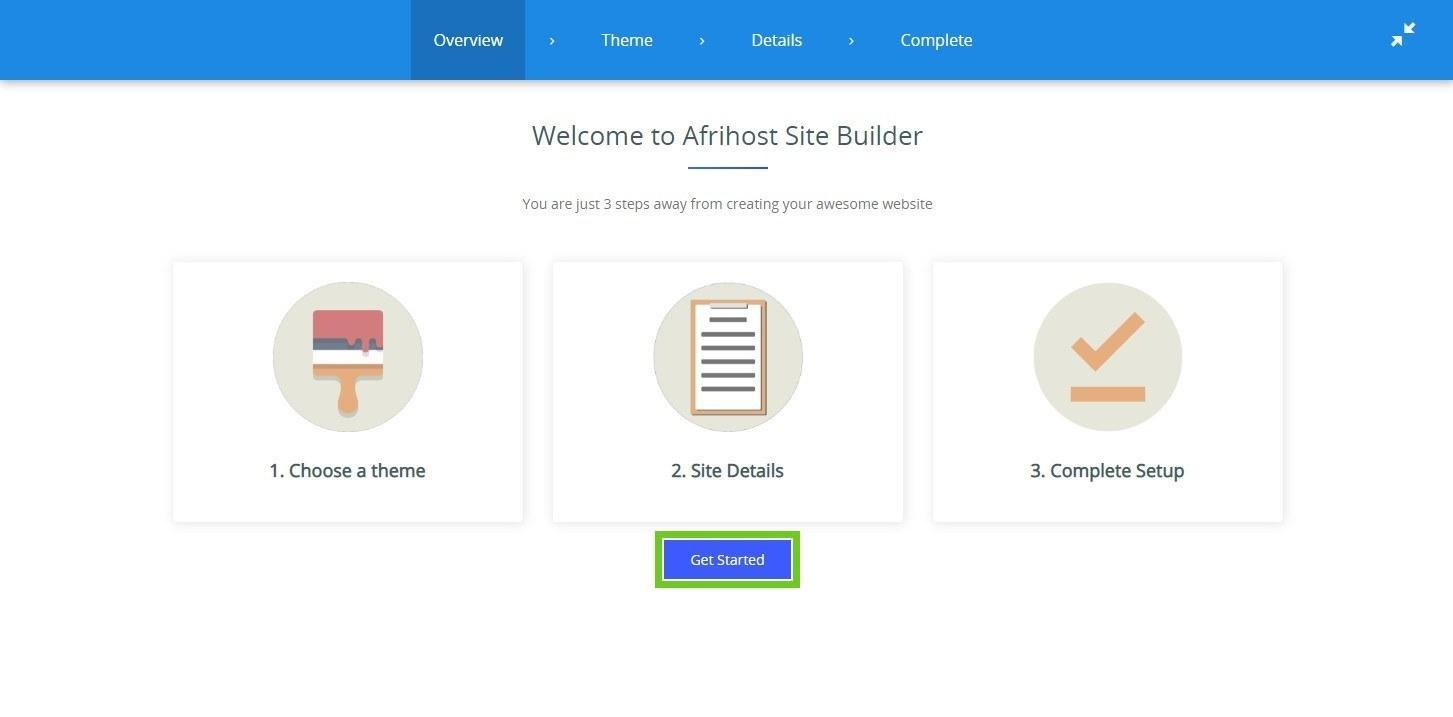
You will be directed to the SitePad website builder welcome page.
- Click on the ‘Get Started’ button to proceed to the next step.
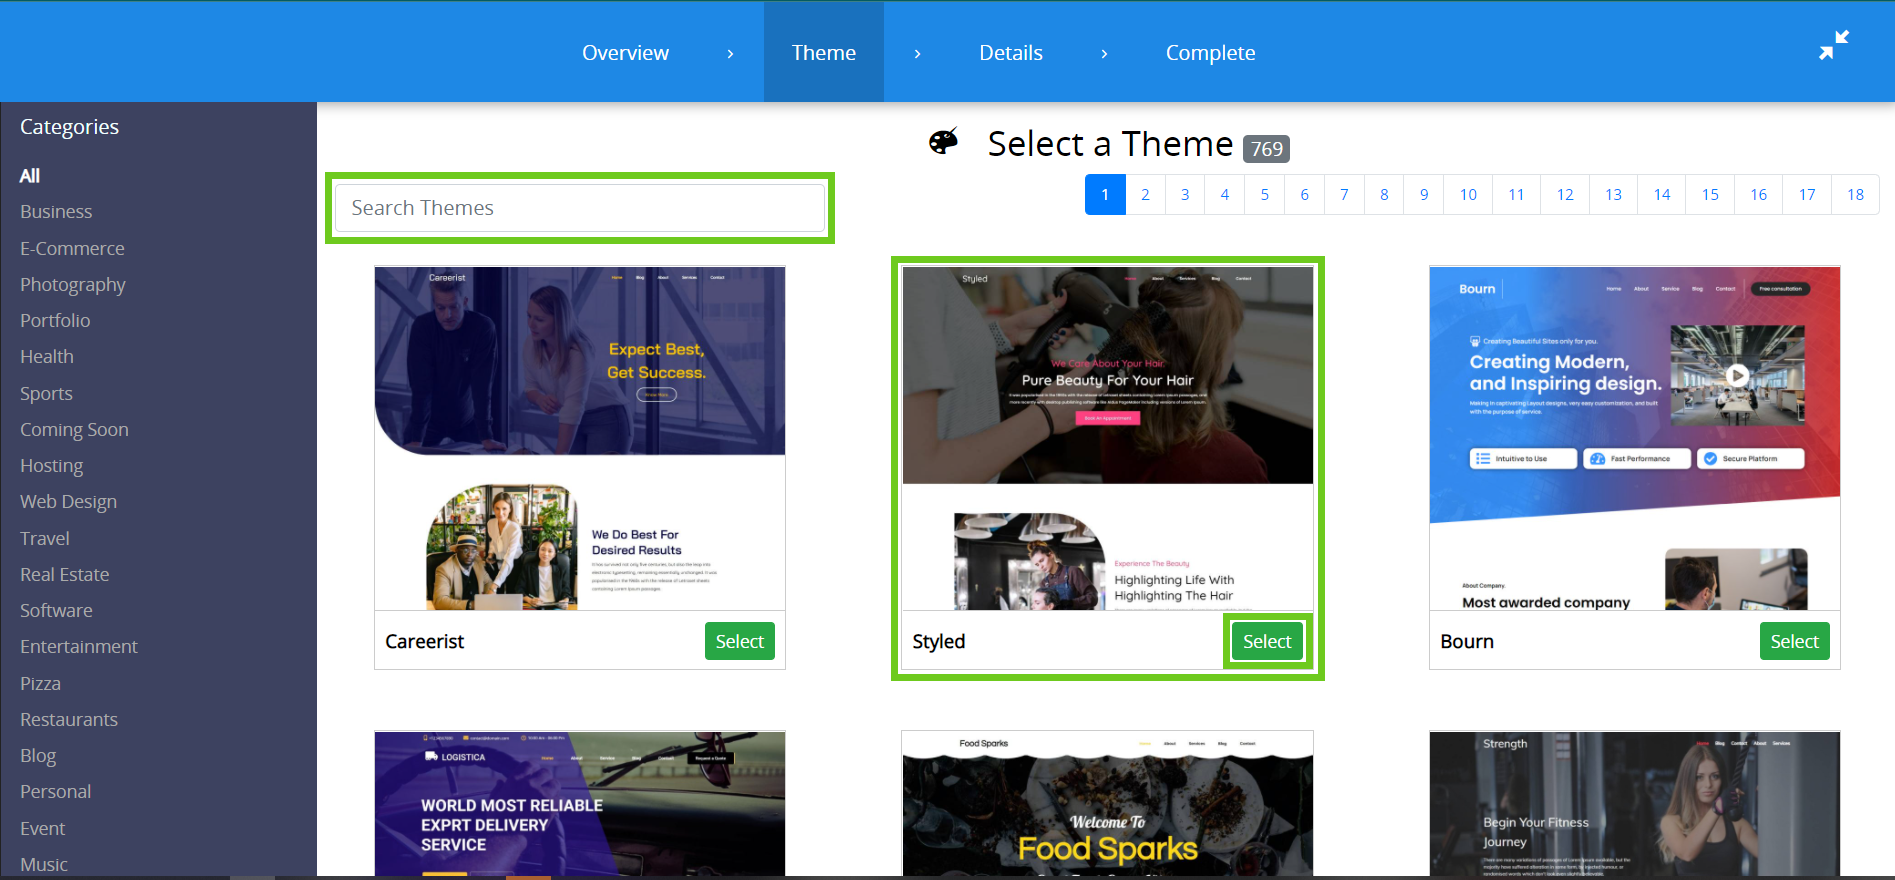
1. Choose a theme
- Scroll and/or search through the themes available to find the theme you want, that best suits your business.
- Click on the ‘Select’ button to set the theme as the default theme for your website.
2. Enter your site details
- Fill in your site details including any social media URLs.
- Once you have entered all the details, select 'Proceed with Install’ to continue the set-up.
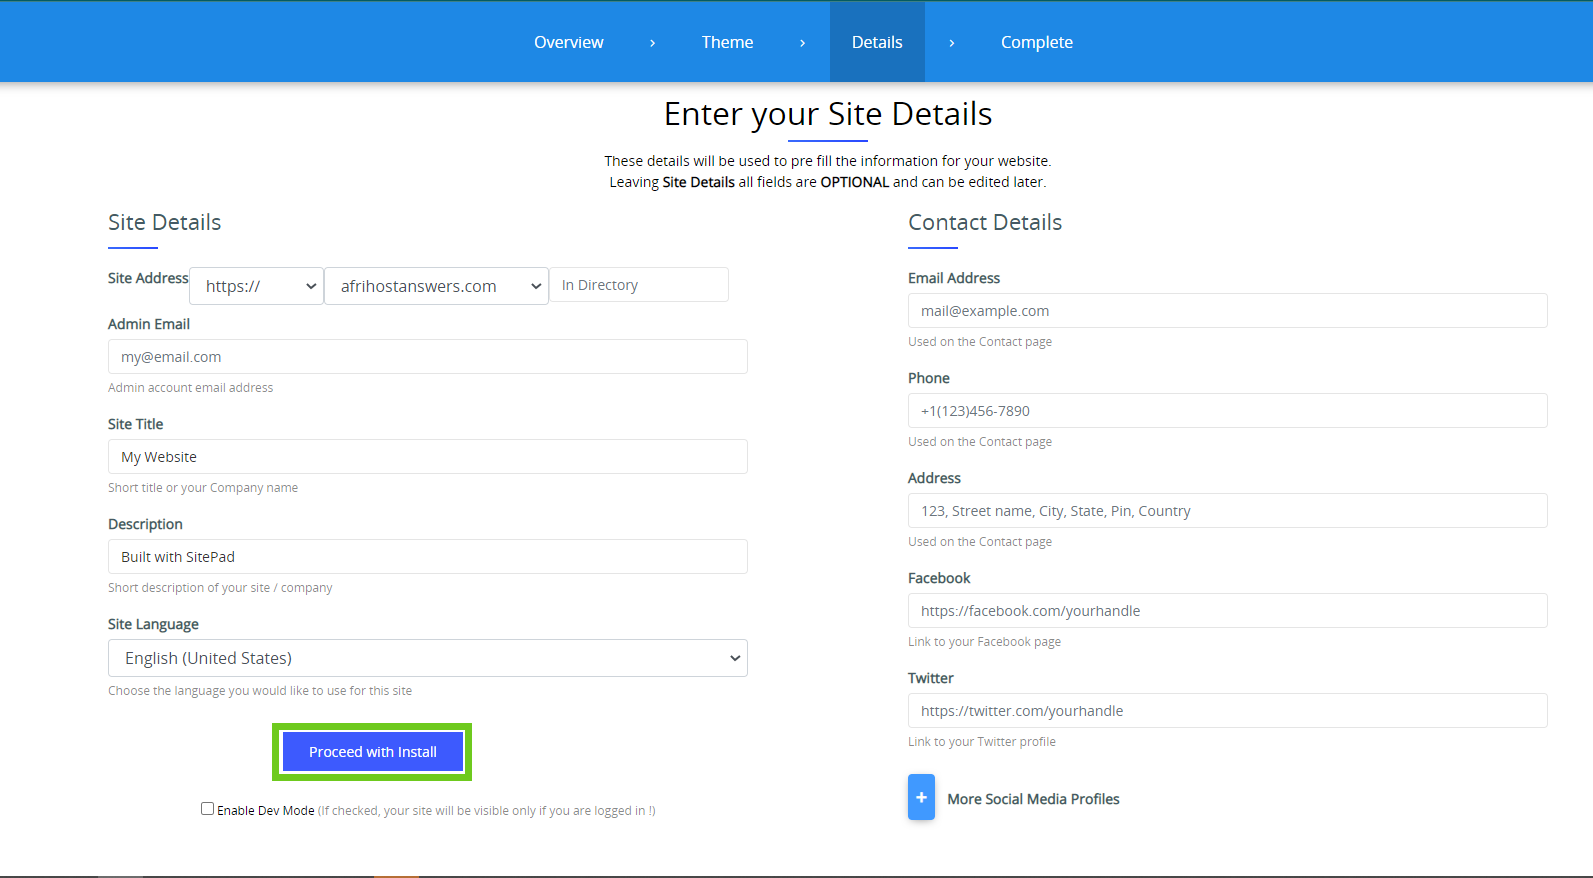
When ‘Dev Mode’ is enabled, your website will be in staging, which means it will not be accessible to the general public, only you can view it. Changes made to your staging site have no impact on your live/published website. This allows you to test changes to your SiteBuilder site without affecting the live site.
3. Complete the set up and publish
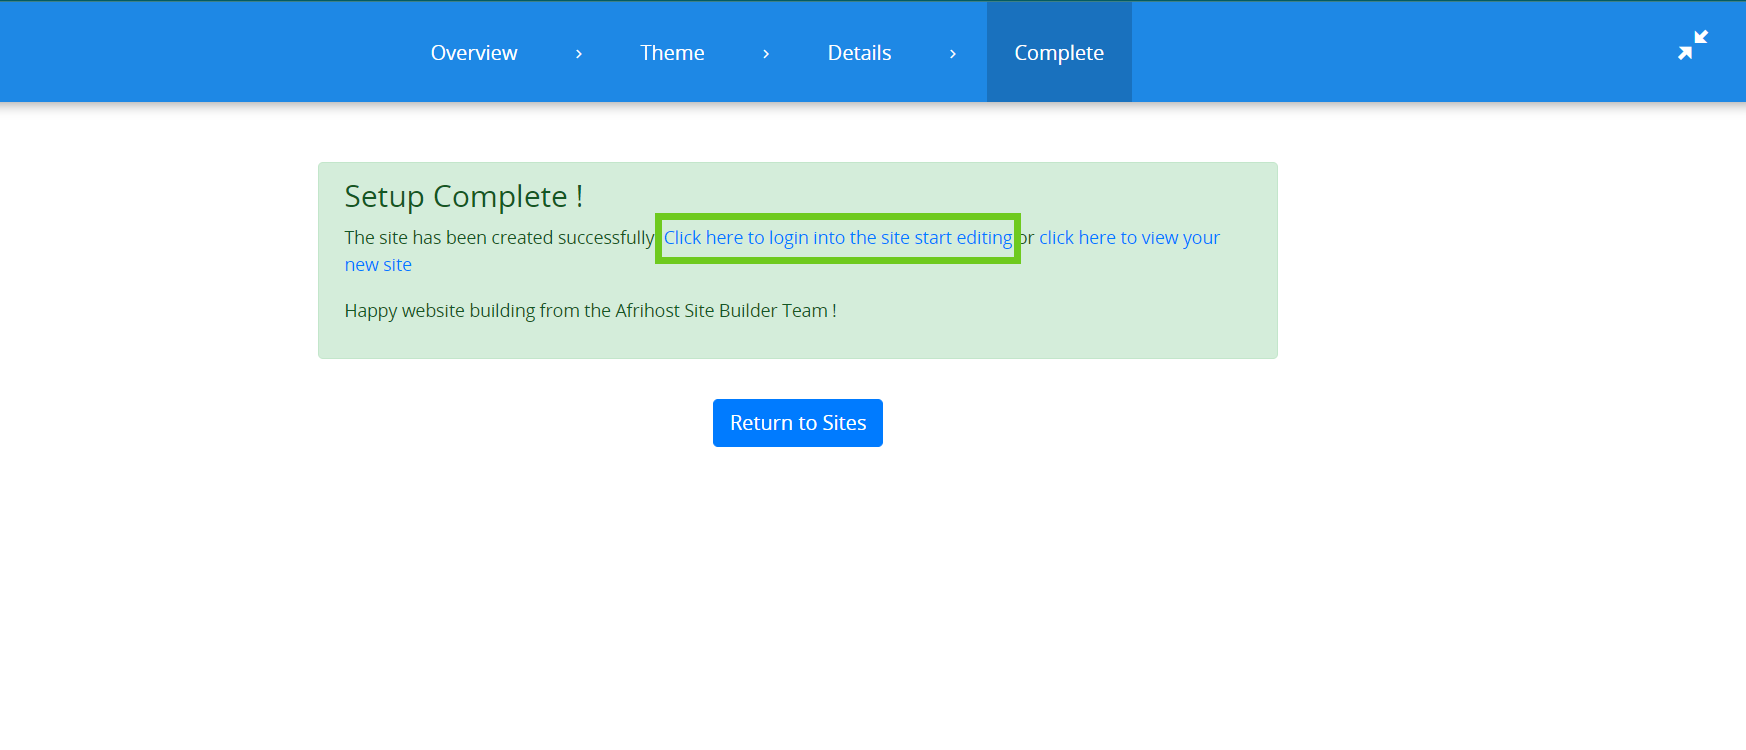
- You will be notified that the setup is completed.
- To start editing your website select ‘Click here to login into the site start editing’.
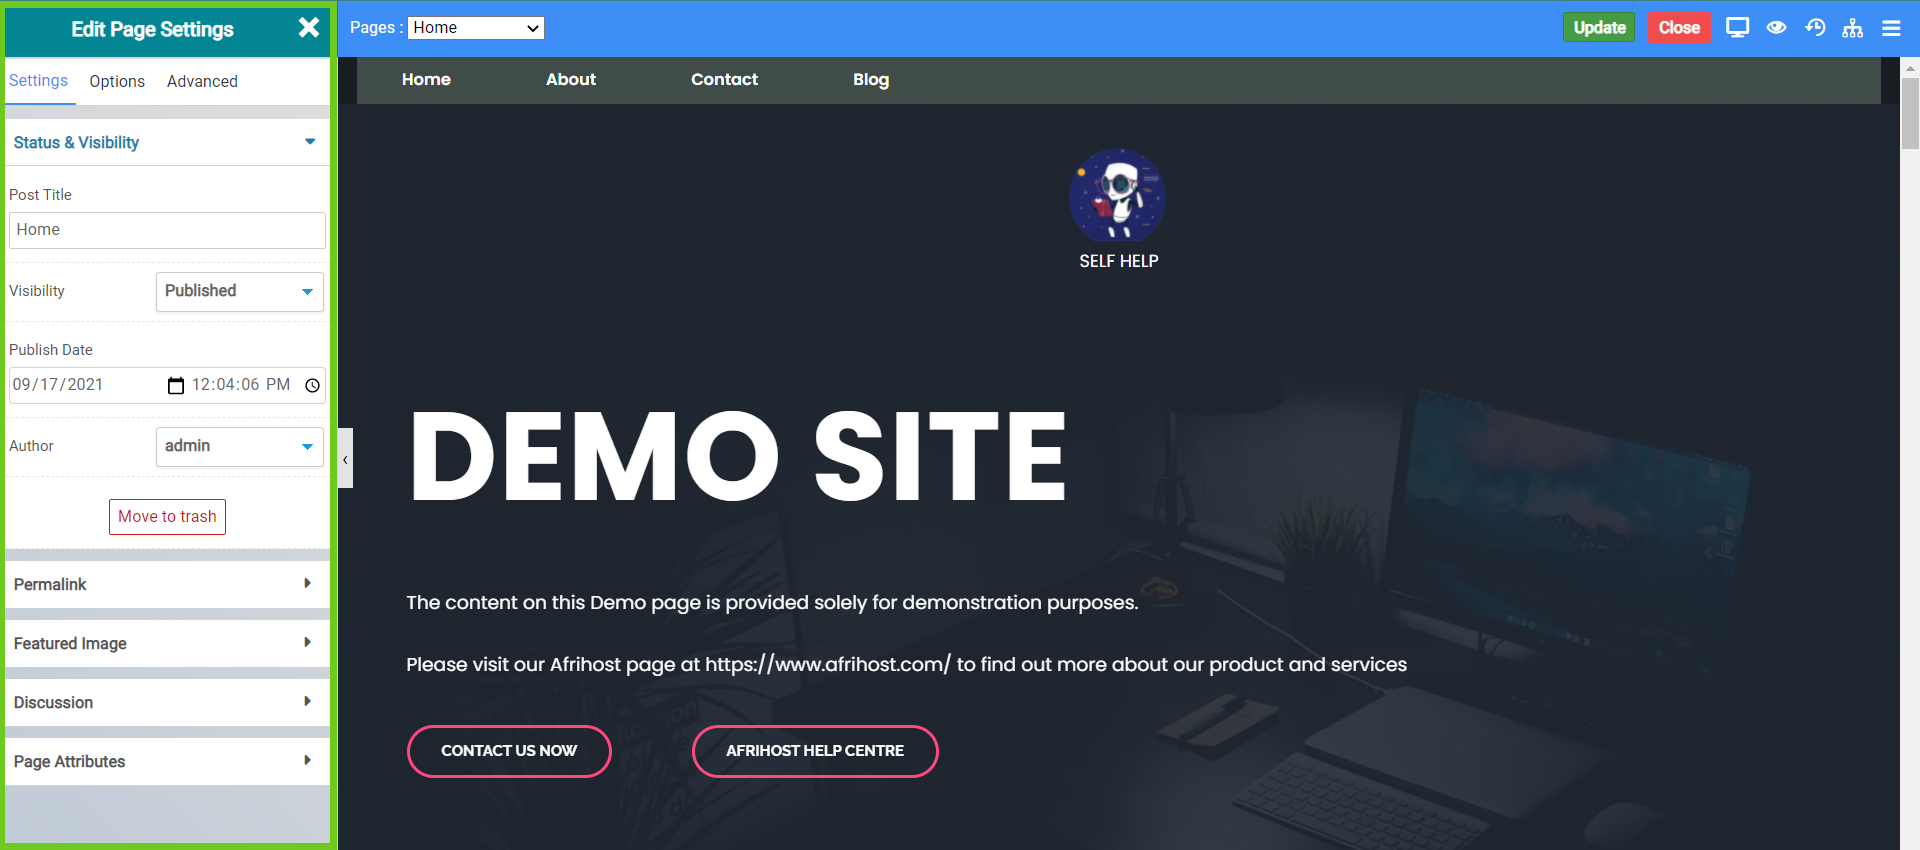
You will be redirected to the SitePad editor for your website. Here you can edit and update your web page settings.
- Add and update the page settings, such as the page title and page status.
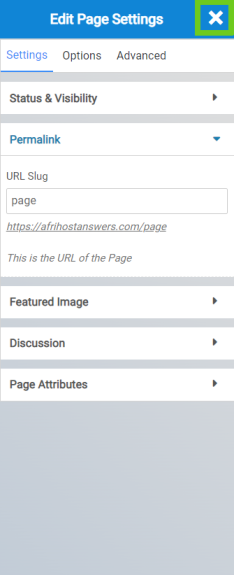
- Add and update the URL slug under ‘Permalink’.
A URL slug is the part of the URL that comes after the final backslash. For example, the URL slug for the article you're reading right now is:
'/how-to-create-a-website-and-add-a-theme-using-sitebuilder'
- Once you have updated the page settings, click on the 'X’ to close the settings.
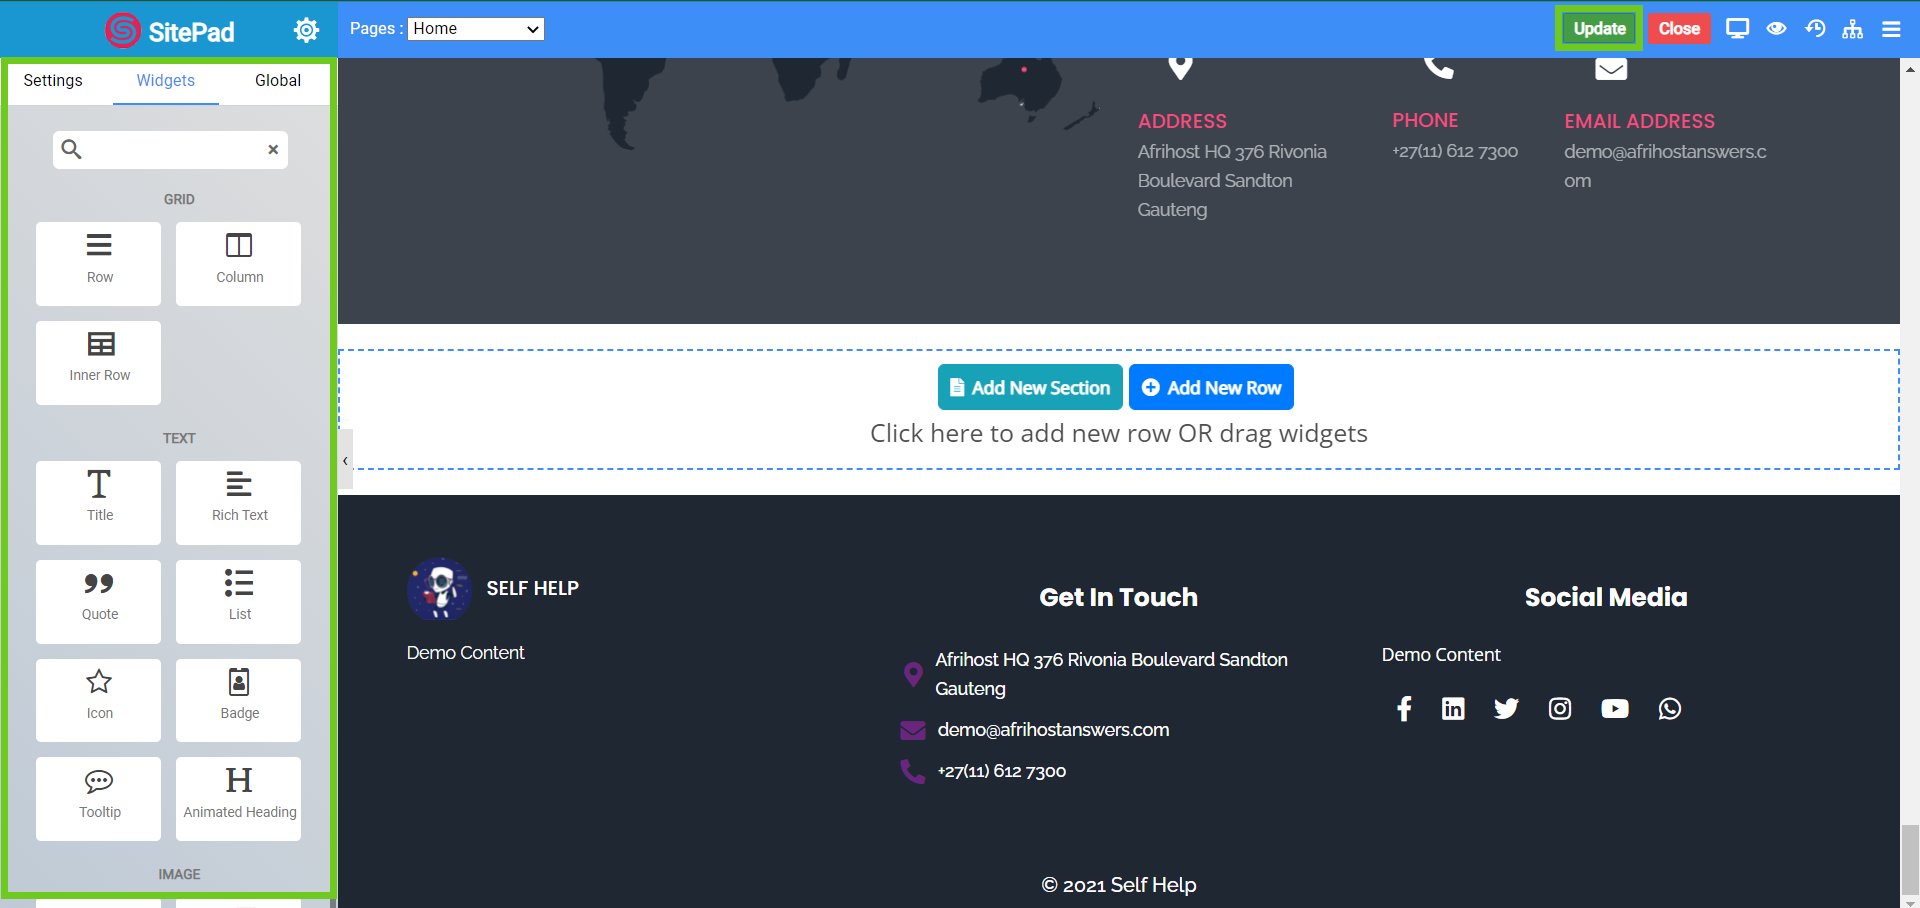
- Edit and style your pages using the drag and drop menu from the left-hand side with different widgets to help create your website.
- Once completed, you can click on the ‘Update’ button to save and publish your work or select the ‘Close’ button to return to the SiteBuilder dashboard.
- Your website is now published and users will be able to see your website's pages live.
You can add many pages to your website, please read our help centre article on How to add a new page to your website in SiteBuilder for assistance.
If you would like to know How to add a new blog page in SiteBuilder, read our Help Centre article for assistance.