

How to add and customise the contact form of your website in SiteBuilder
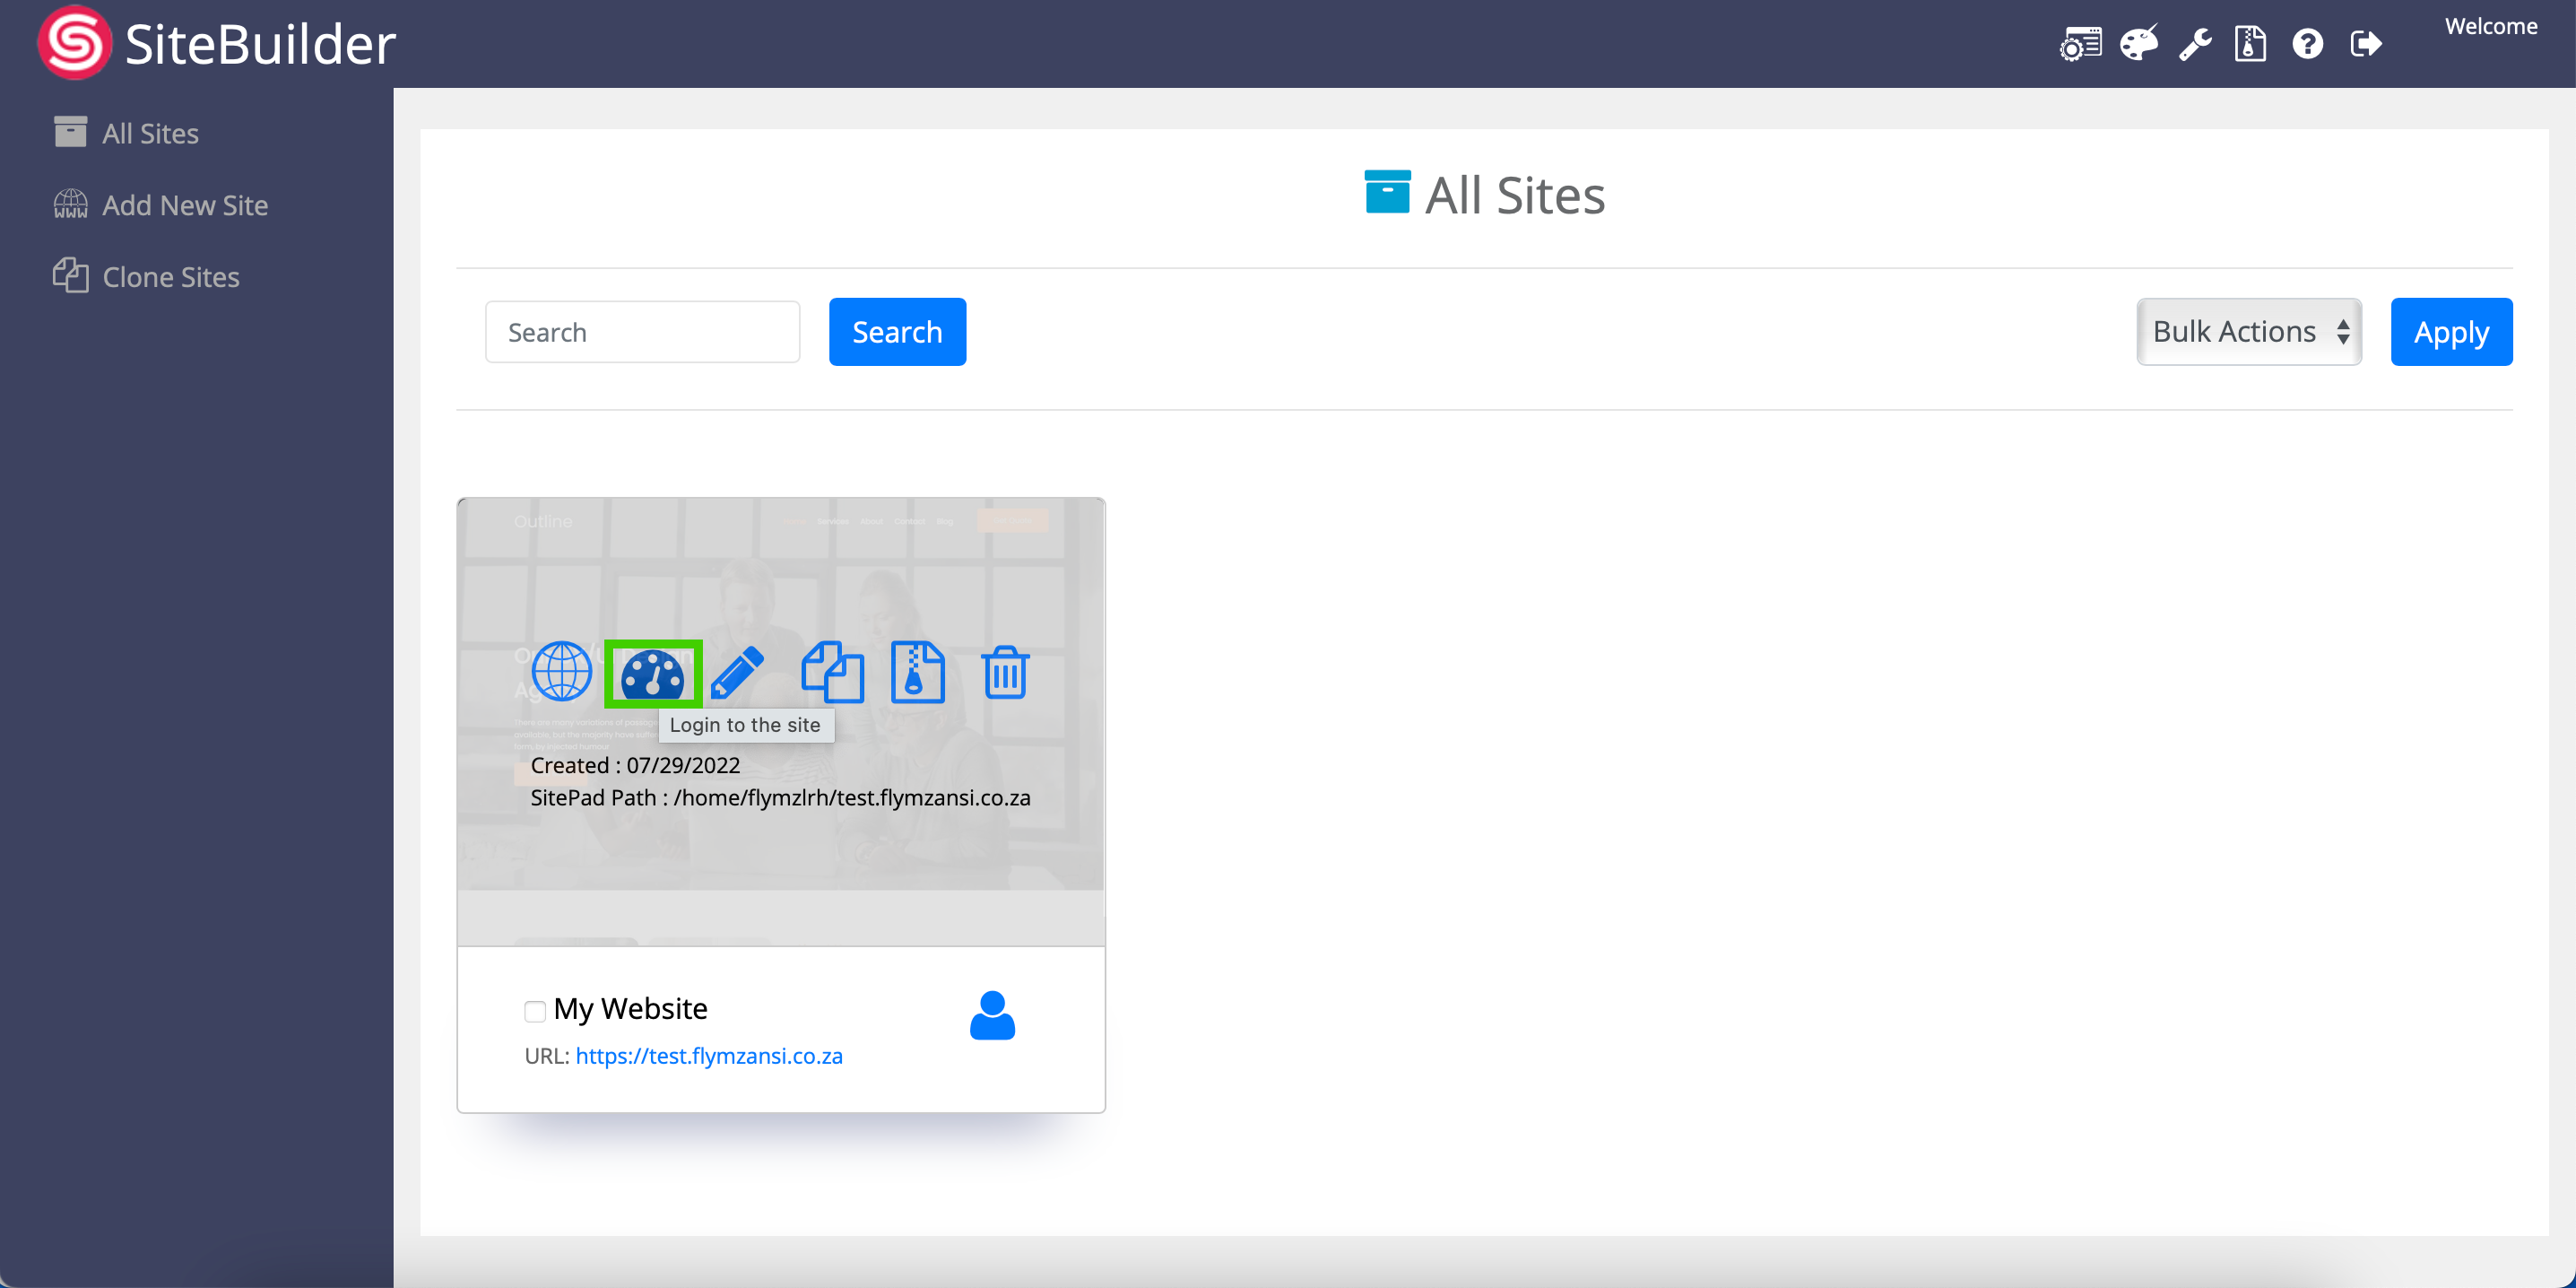
One of the most powerful features of a website is the ability to send email messages directly from the website to a contact person at the company. It is important that your clients can contact you. This is where a web-to-email contact form comes in handy. The Afrihost SiteBuilder has an easy-to-use web-to-email contact form, which needs to be configured for this helpful feature to work.
1. Customise your contact form settings.
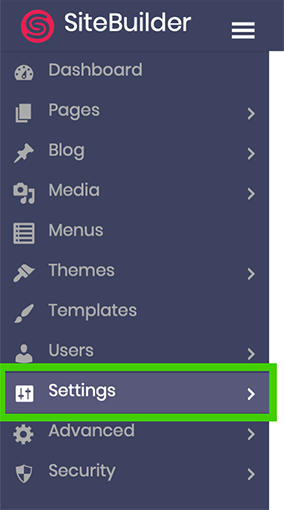
- Select ‘Settings’ from the menu on the left-hand side.
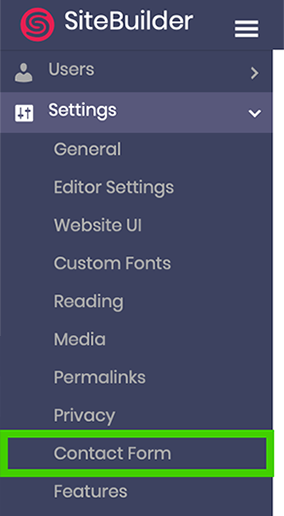
- Select ‘Contact Form’ from the submenu below.
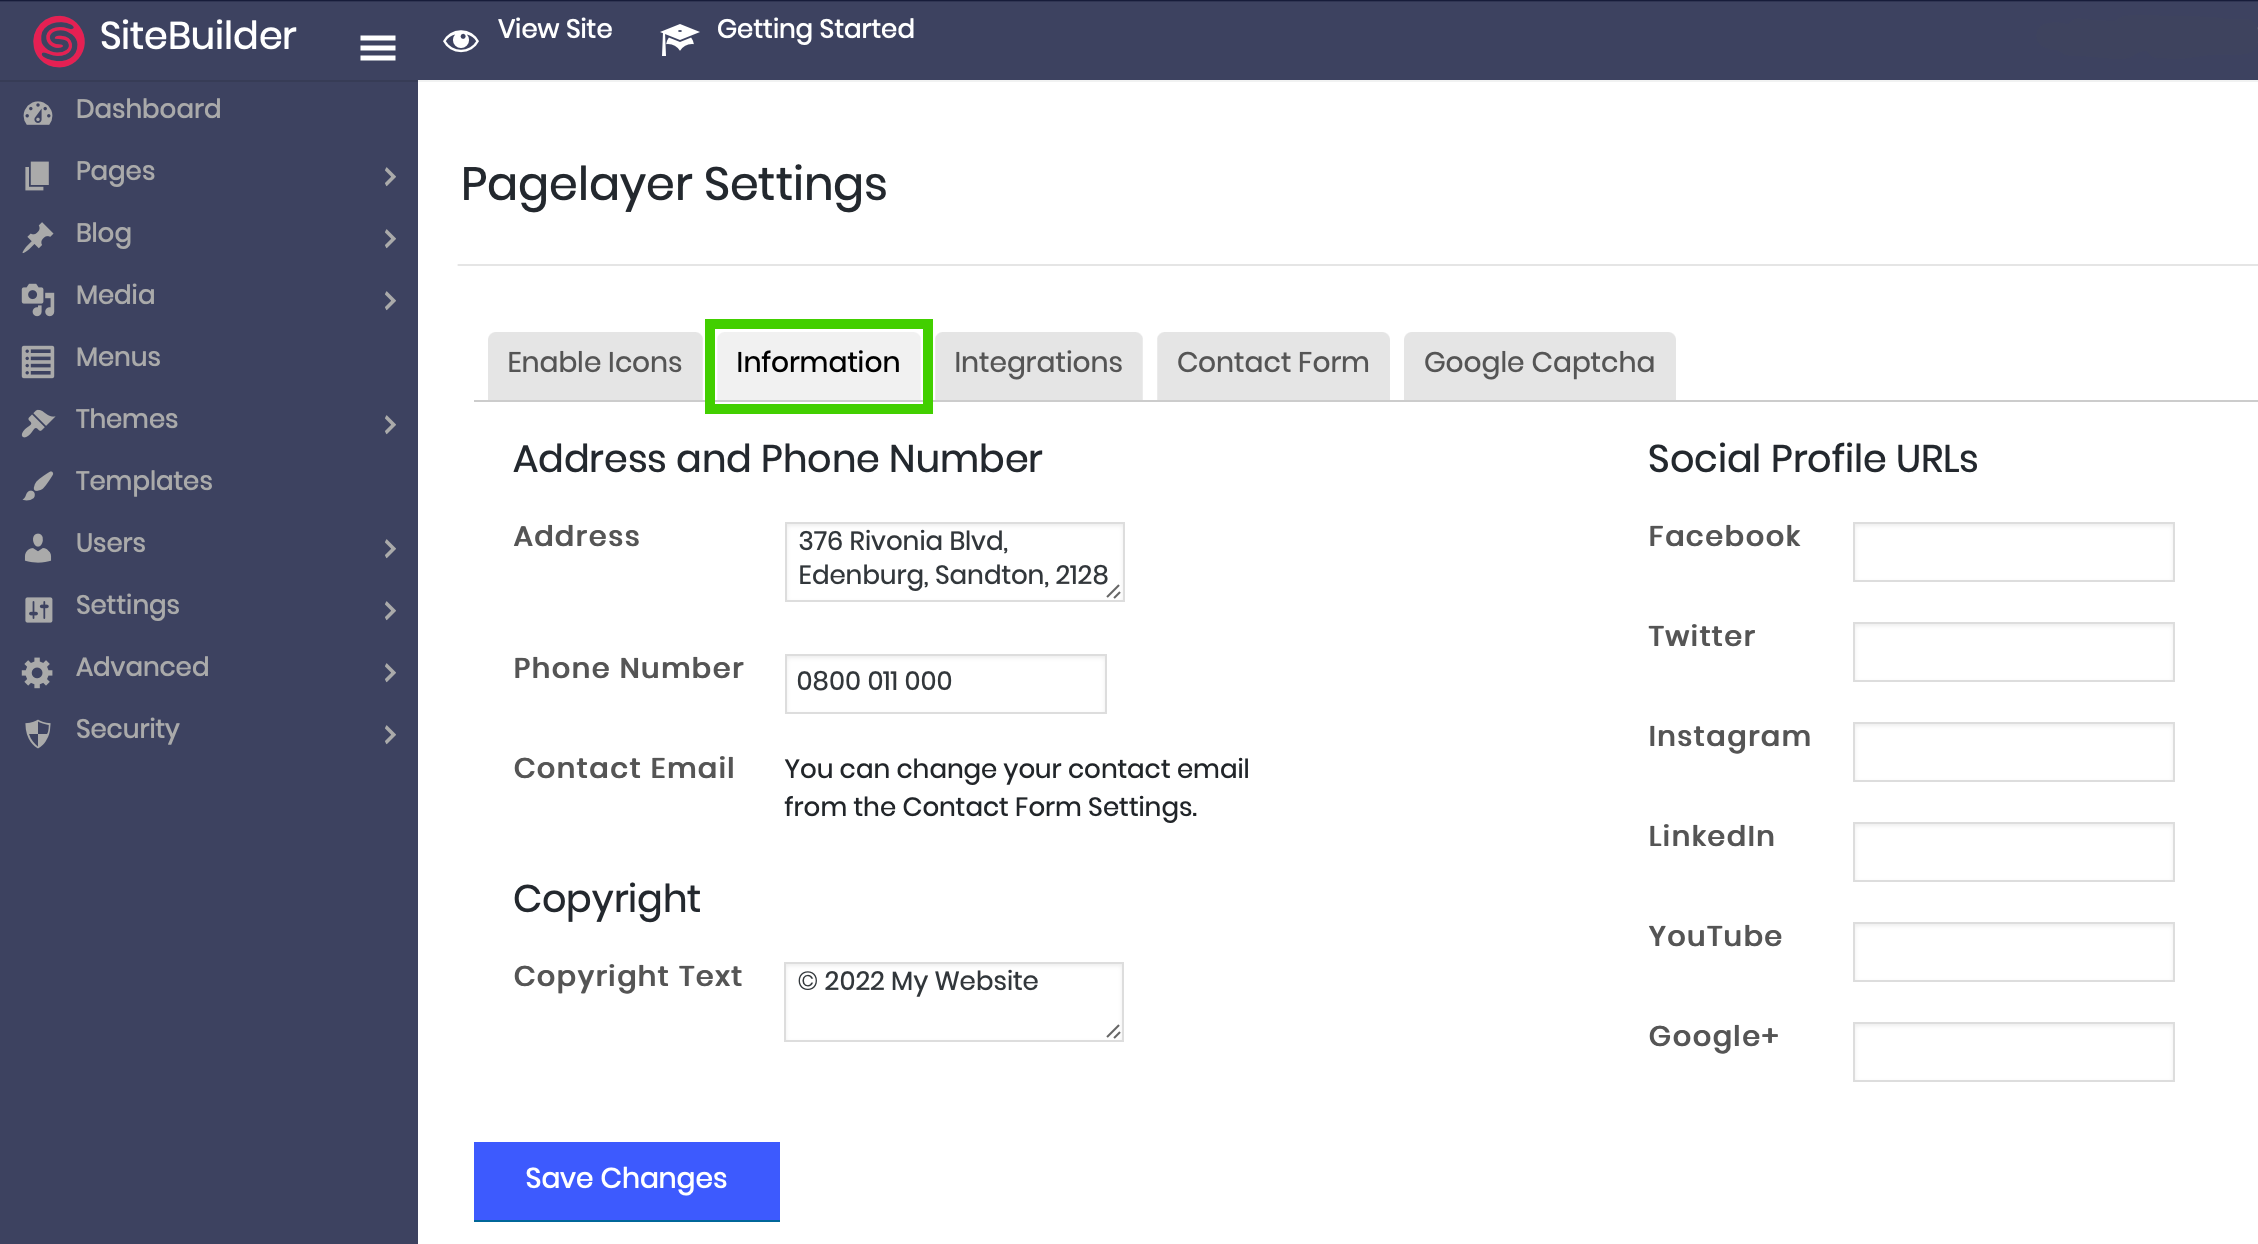
- Select the Information tab on the horizontal menu.
- Fill in your contact details and social media links (if any).
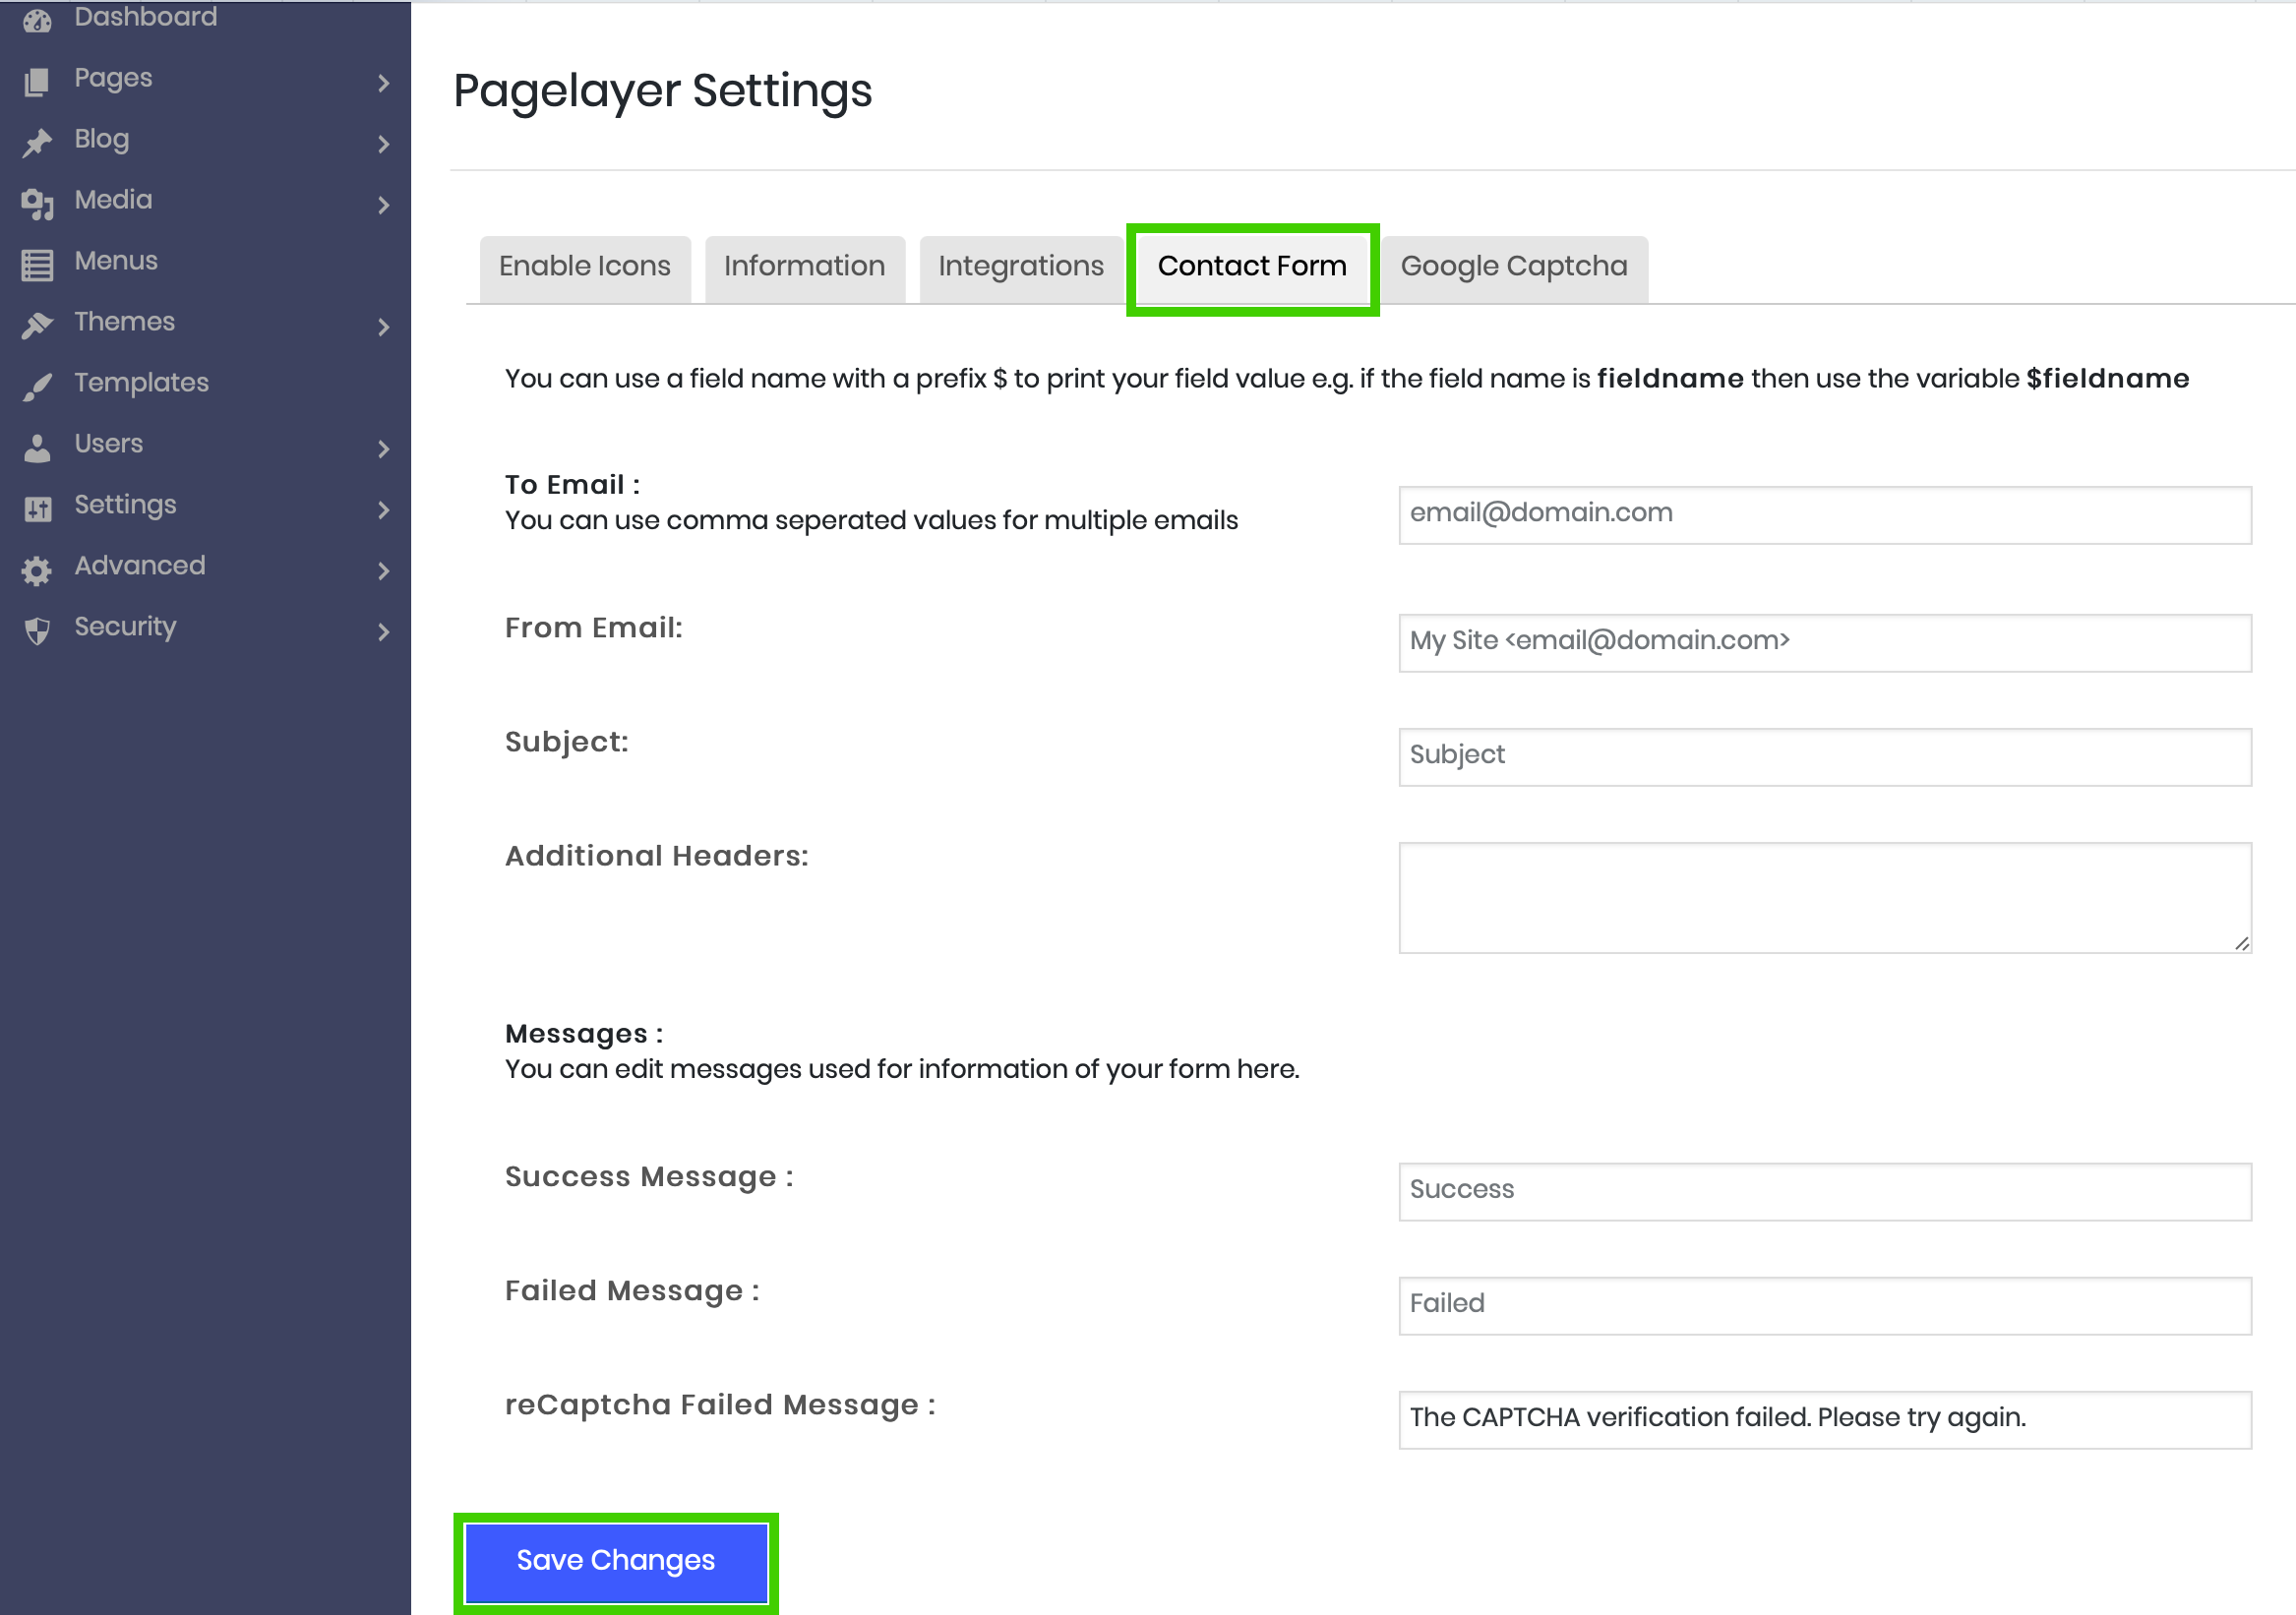
- Select the ‘Contact Form’ tab on the horizontal menu.
- Enter the details in the fields as required.
- To Email – you will receive your contact form email on this email.
- From Email – through this email, your contact form email will be sent.
- Subject – The subject that will be shown on emails coming from the website. E.g., “Website Contact Form Email” or “Message received”.
- Success Message – This message is shown to the senders on the website once the message is sent successfully.
- Failed Message - This message is shown to the senders on the website if the message is NOT sent successfully.
It is a good idea to create a new email account that will handle emails sent from the website’s contact form. E.g., websiteemails@mysite.co.za. This will help you manage your website’s contact form email handling better. You may read the How to create an email account article for a step-by-step guide.
- Click the ‘Save Changes’ button below.
You can follow the steps on How to add your address in Google Maps to your contact form in SiteBuilder and How to set up reCAPTCHA on your contact form in SiteBuilder Help Centre articles if you want to add your address to the Google maps on the contact page and use Google reCAPTCHA.
2. Customise your contact page text.
You may also want to customise the text on the contact page.
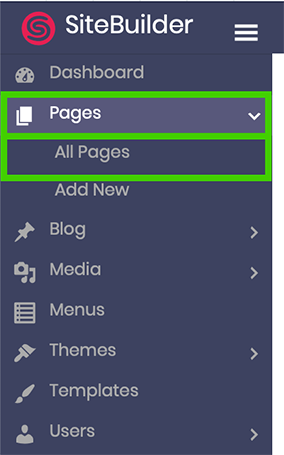
- Select ‘Pages’ from the main menu on the left-hand side.
- Select ‘All Pages’ from the submenu displayed below.
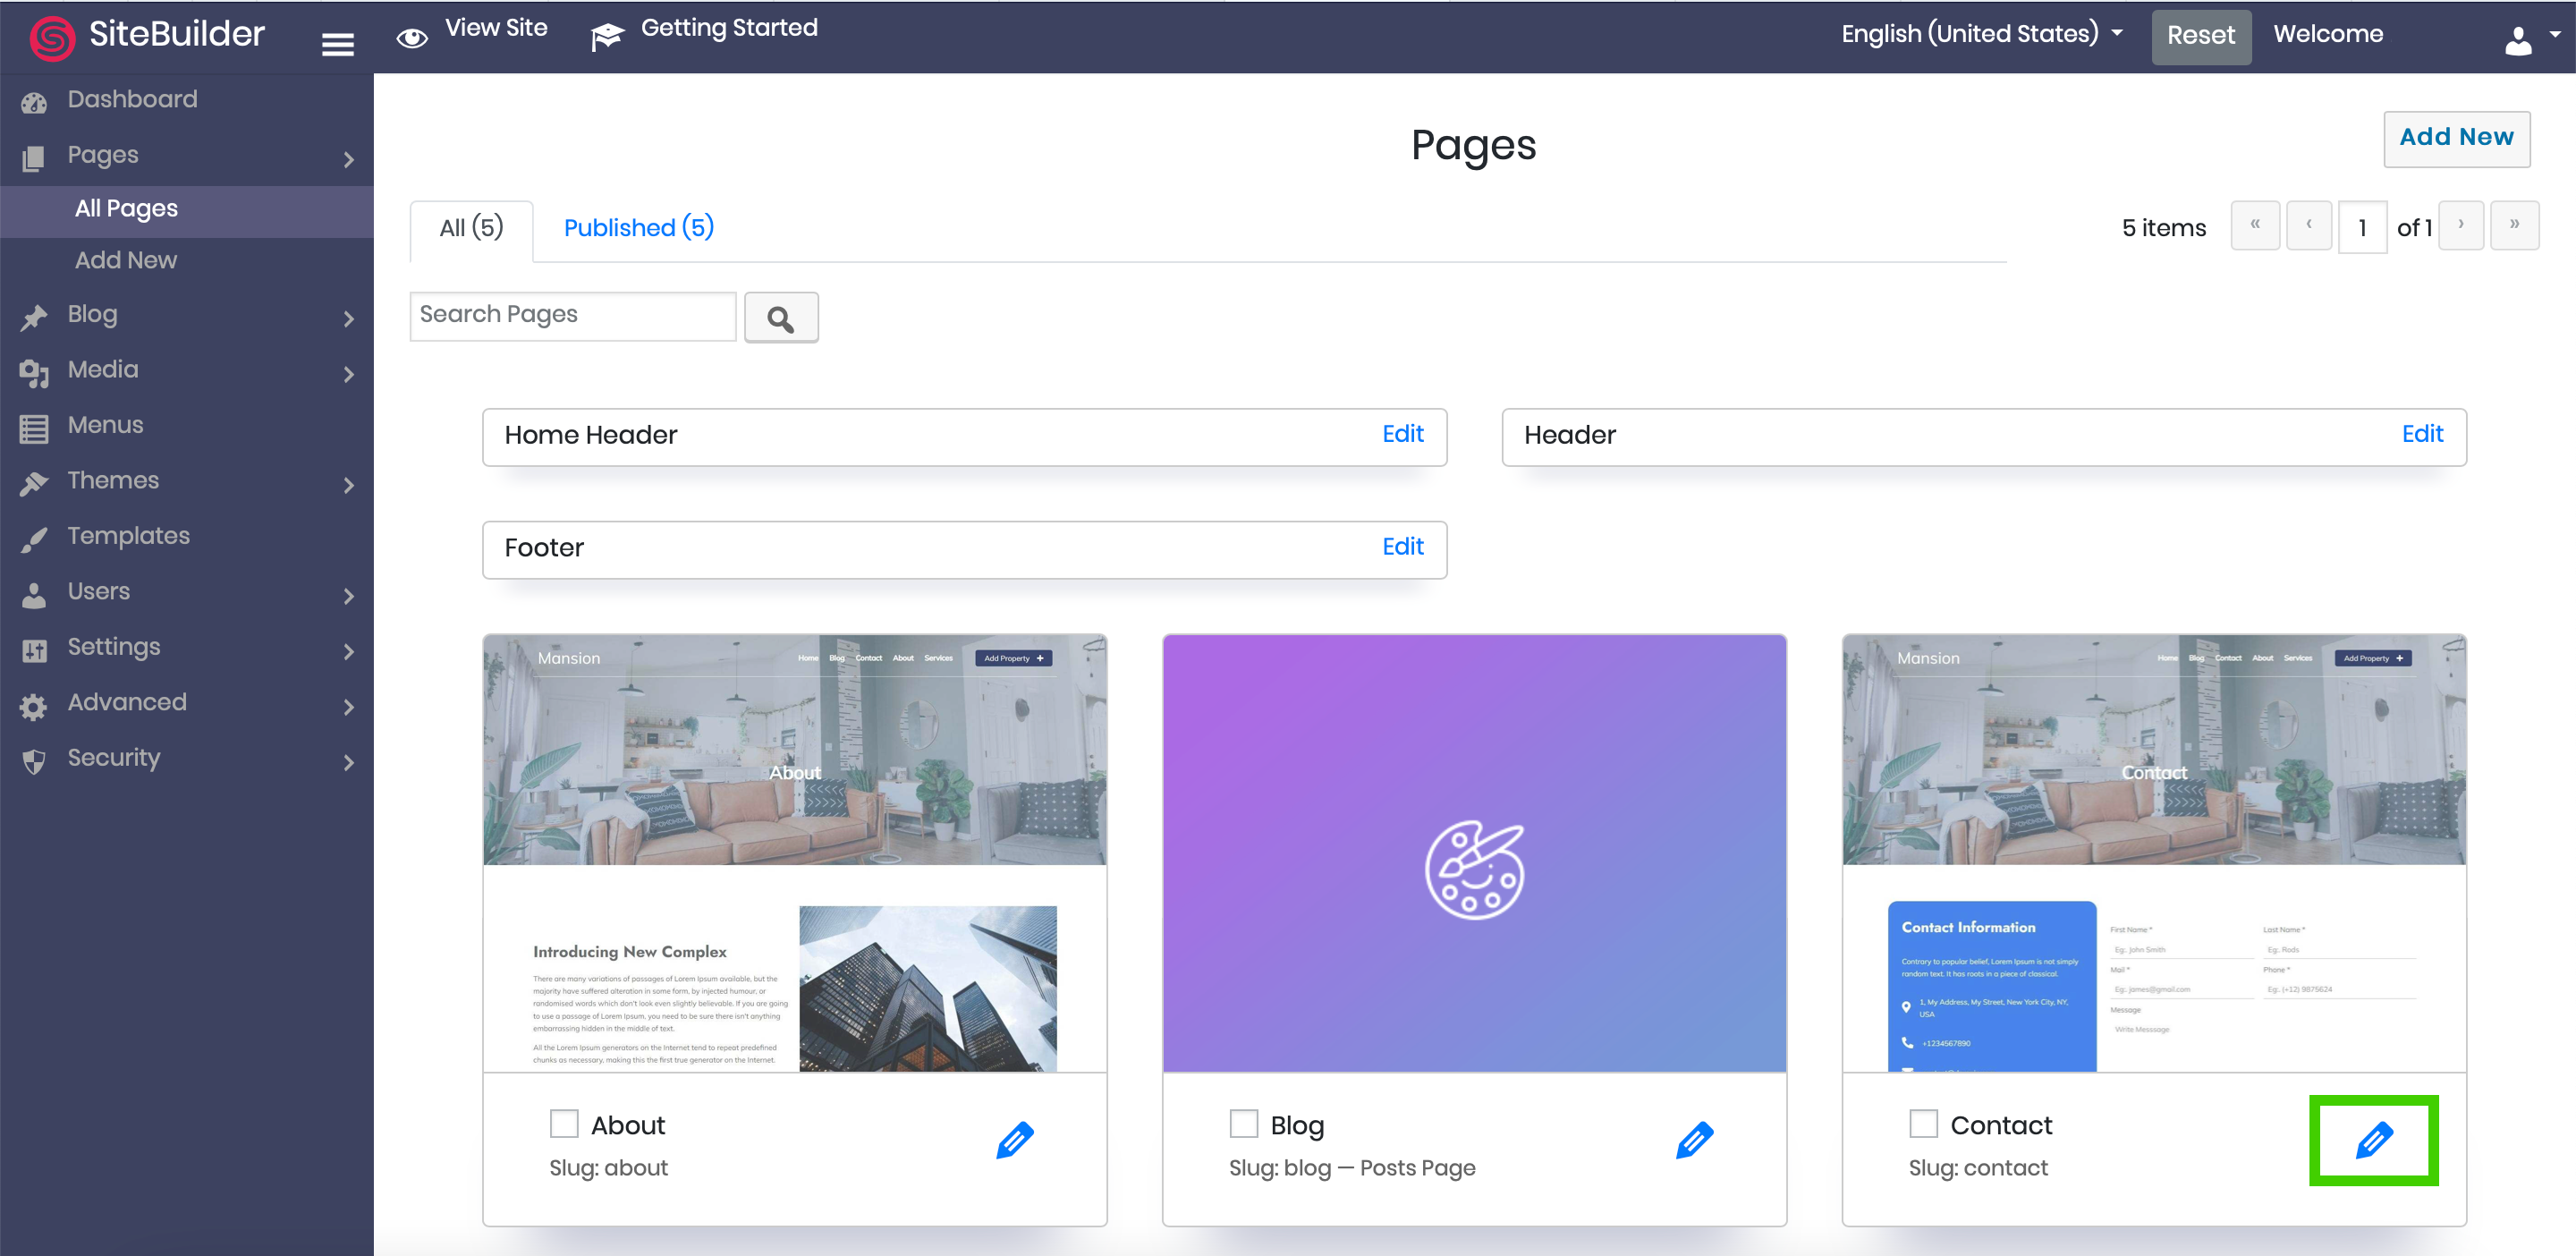
- Click the pencil icon on the ‘Contact’ block to edit your contact page.
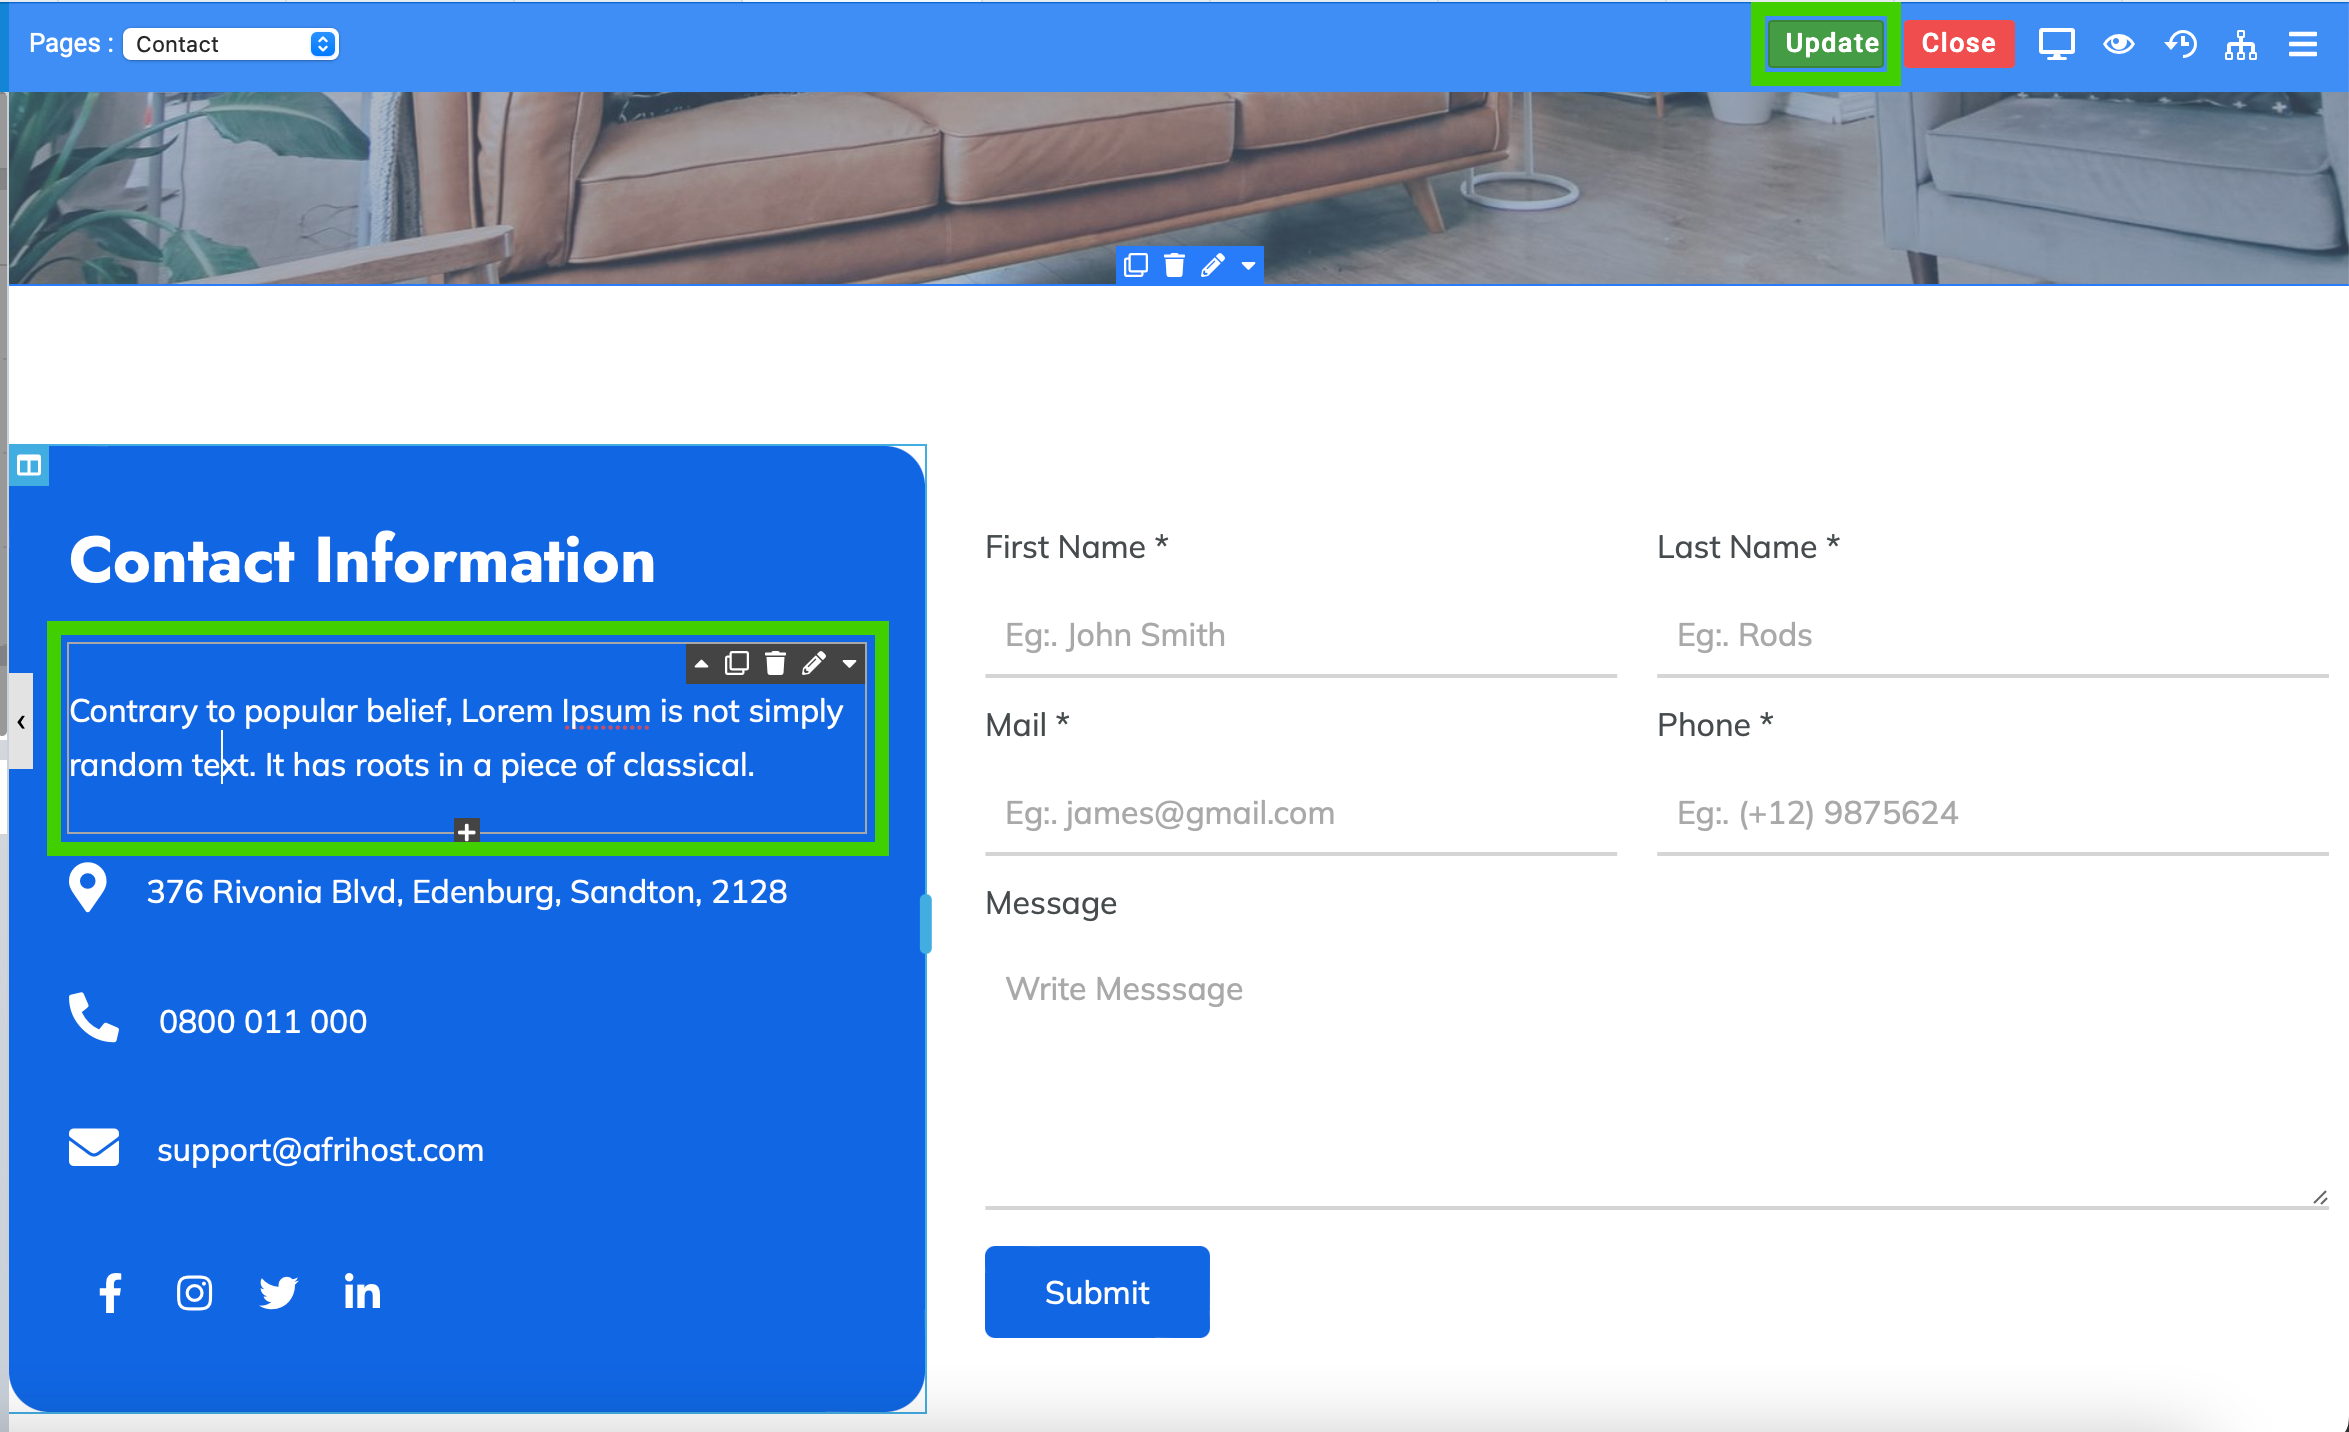
- Click on the text you want to edit and edit as you wish.
- Click the ‘Update’ button at the top of the page to save changes.
The actual contact information cannot be changed on this page. It can only be changed in Settings under Contact Form.