

How to publish or upload your website files to the internet and make your website live
To create and publish a sitebuilder website, please read How to create a website and add a theme in SiteBuilder, for further information.
You can upload your website files (HTML, CSS, PHP, Java Script, etc.) using an FTP client or File Manager.
FTP stands for File Transfer Protocol. File Transfer Protocol is a standard network protocol used for the transfer of computer files between a client and a server on a computer network.
An FTP client is the most common way used to upload or publish files to the web. The application establishes a connection between your computer and the domain's hosting server, allowing you to copy and paste (or drag and drop) your website files to the hosting server. Many FTP programs are free or have free trials, such as FileZilla, WS_FTP, and CuteFTP.
You can also use File Manager to upload website files. A File Manager uploads one file at a time and will not let you select the entire folder. For this reason, it is recommended that you use an FTP client.
We suggest using a dedicated FTP programme because these programmes have the best user interfaces and advanced support options like setting file permissions and resuming aborted file transfers.
Ways to publish or upload your website files:
- Publish via an FTP Client (FileZilla).
- Publish via your control panel (cPanel or CWP).
1. Publish via an FTP Client - FileZilla
- Download and install FileZilla onto your computer.
- Open FileZilla.
- Fill in the following information:
- Host: www.yourdomainname.com
- Username: yourdomainname username
- Password: your FTP account password
- Port: 21
The login details were sent in the FTP documentation on registration.
Follow these instructions if you need to reset the password:
- Log into ClientZone.
- Click on the ‘Hosting’ tab.
- Select the domain in question.
- Click on 'Website Manager'.
- Click on 'Reset Password'.
- Copy the FTP (cPanel) username and password that pop up on your screen.
- Click ‘Quickconnect’ at the top right.

- FileZilla will attempt to connect, and the status will display ‘Directory Listing Successful’ once connected.

- The ‘Local Site’ directory shows files and folders on your computer.
- The ‘Remote Site’ directory shows files and folders on the server.
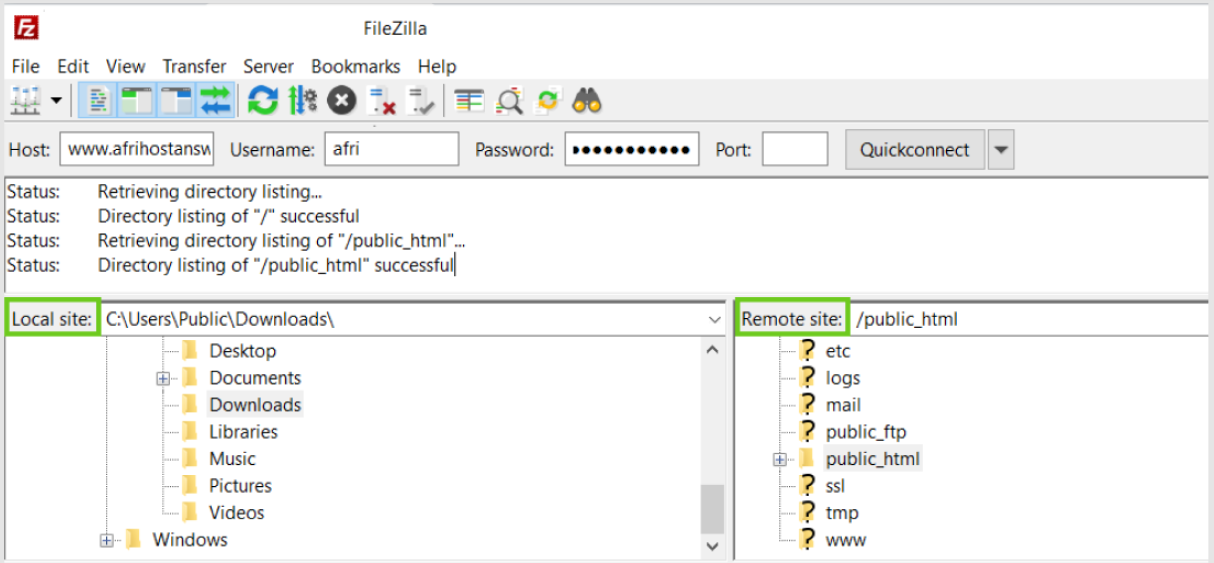
- Drag and drop the files you want to upload from the ‘Local site’ to the ‘Remote site’ into the ‘public_html folder’.
The ‘public_html’ is the folder is where you put all website files that will appear when someone searches for your website.
You should now be able to access your website via your internet browser after uploading all the website files.
It is important that you upload the index.htm, or index.html, or index.php, etc. as this is the home page of the website. Without the index file, the website will not go live.
If you need further help with How to upload files using FileZilla, please read our Help Centre article for assistance.
2.1 Publish website via cPanel
- Login to cPanel.
If you would like to know How to log into cPanel, please read our Help Centre article for further assistance.
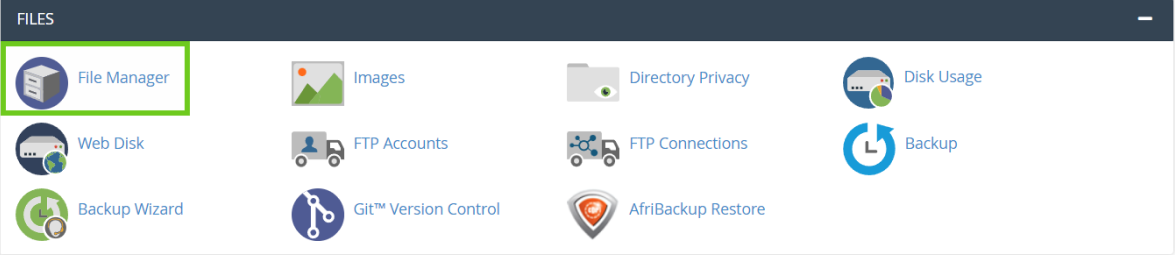
- Select ‘File Manager'.
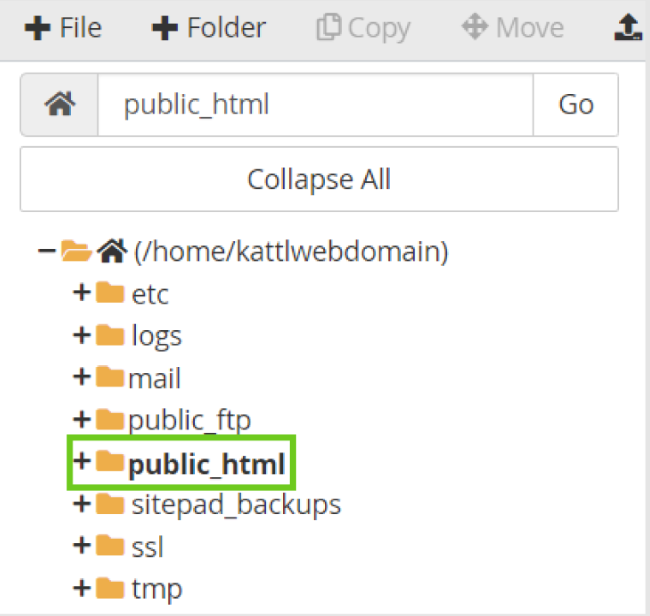
- On the left-hand side menu select the ‘public_html’ folder.
The ‘public_html’ is the folder is where you put all website files that will appear when someone searches for your website.
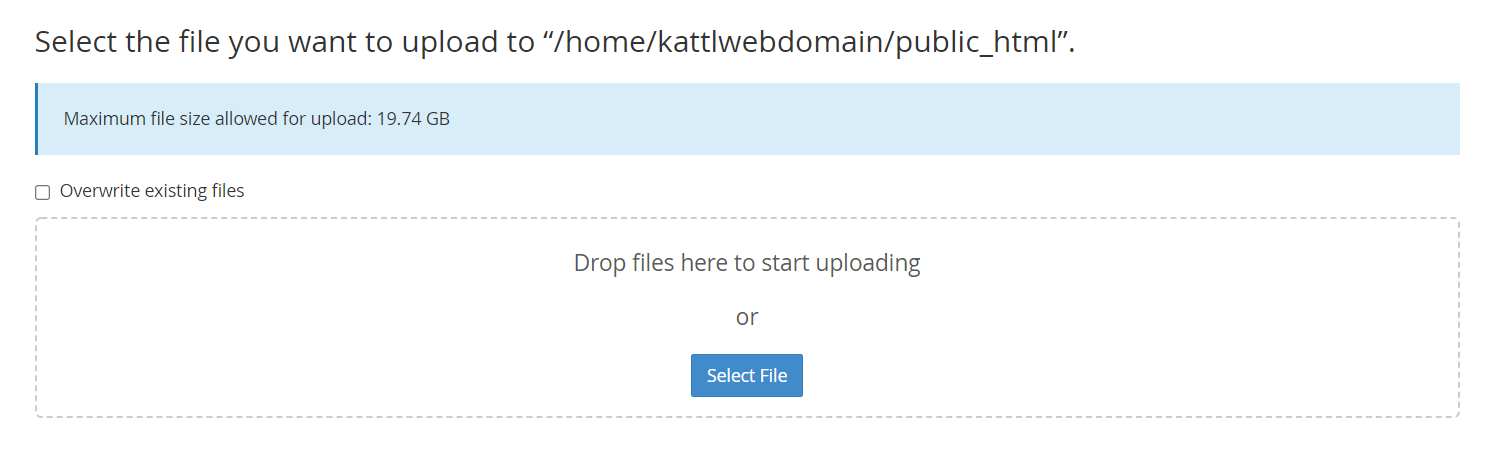
- Select ‘Upload’ at the top of the page.

- Select or drag and drop the website files from your computer that you wish to upload to the public_html file.
You should be able to access your website via your internet browser after uploading all the website files.
It is important that you upload the index.htm, or index.html, or index.php, etc. as this is the home page of the website. Without the index file the website will not go live.
2.2. Publish website via CWP
- Login to CWP.
If you would like to know How to log into CWP, please read our Help Centre article for further assistance
- On the left hand-side menu select ‘File Management’.
- Below click on ‘File Manager’.

- On the left-hand side menu select the ‘public_html’ folder.
The ‘public_html’ is the folder is where you put all website files that will appear when someone searches for your website.
- Select ‘Upload’ at the top of the page.
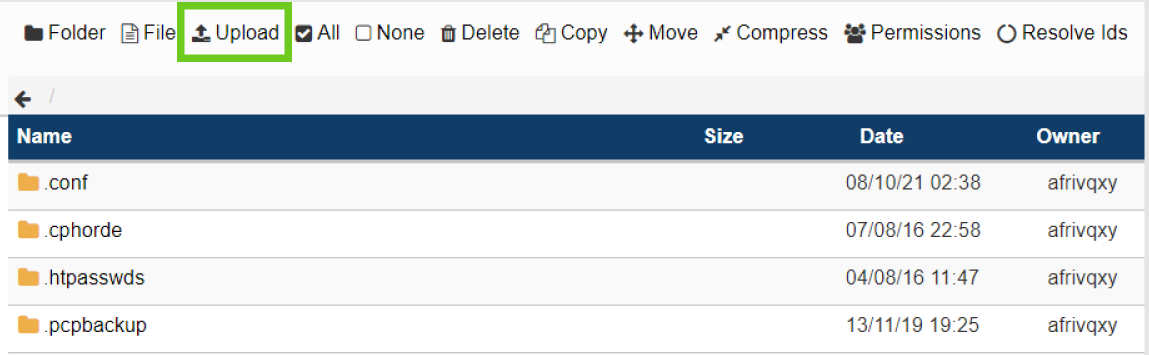
- Select or drag and drop the website files from your computer that you wish to upload.
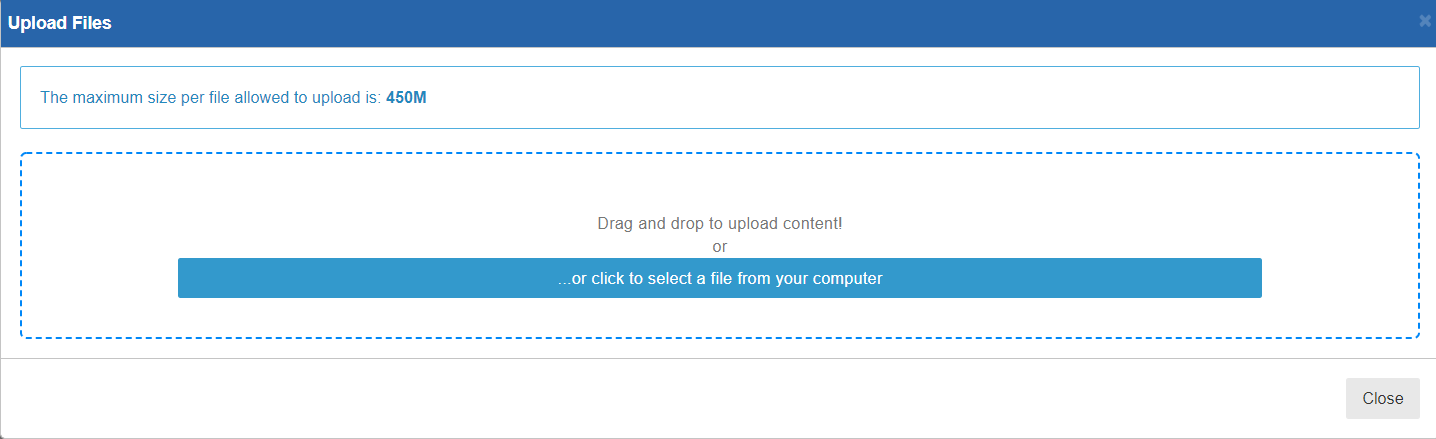
You should be able to access your website via your internet browser after uploading all the website files.
It is important that you upload the index.htm, or index.html, or index.php, etc. as this the home page of the website. Without the index file the website will not go live.