

How to set up your TP-Link EX511 Fibre Router for a DHCP connection
Living in today's interconnected world, having a reliable and efficient internet connection is essential. The TP-Link EX511 WiFi 6 Fibre Router is a real powerhouse when it comes to ensuring seamless connectivity. In this article, we will take you through the process of setting up your TP-Link EX511 for a DHCP connection, making sure you can enjoy a consistently dependable and high-performance network.
DHCP is used for all fibre providers except Openserve, TT connect, Unfiybr fibre and Vodacom which is a PPPoE connection only.
DHCP connects by obtaining an IP address and then connects automatically and should not require set up.
PPPoE connects via an ISP and requires a username and password.
1. Package Contents:
- 1 x EX511 WiFi 6 Fibre Router.
- 1 x Power Supply Adapter.
- 1 x RJ45 Ethernet cable.
- Quick installation guide.
2. Get Connected!
2.1. Connect the router to the power and the ONT
- Connect the power supply cable to the router and then plug the adapter into an electrical power outlet to provide power to the router.
- Ensure the ONT / CPE is powered up and the LED lights are showing on the device.
- Connect the ethernet cable from LAN port 1 on the ONT device to the WAN port on your fibre router.
Use LAN port 5 instead of 1 for connecting a TT Connect ONT device.
2.2. Connect to your router
- Connect to the router's WiFi network or connect directly via an Ethernet cable.
- Plug the ethernet cable into the router's LAN port and then into your computer's LAN port.
Locate your default WiFi network name and password on the label at the back of your router.
Once the connection has been established:
- Open your internet browser and search the device's IP address to access the router.
- Enter 192.168.0.1 in the browser search bar.
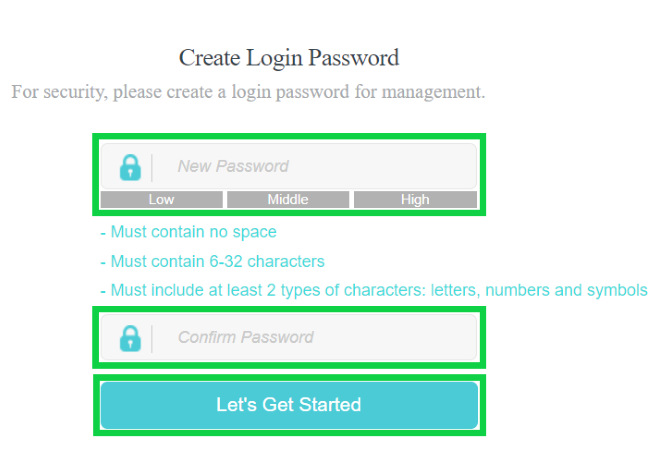
- Create a new password to access your router in the future and confirm it.
It is important to create a strong and secure password. Include uppercase, lowercase, numbers and use at least one special character (eg: =~_{} @^&>*) in the password.
- Click ‘Let’s Get Started’.
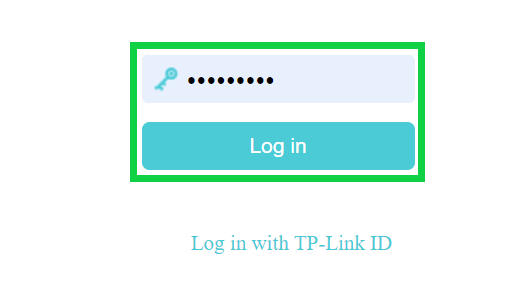
- Log into the router with the newly created password.
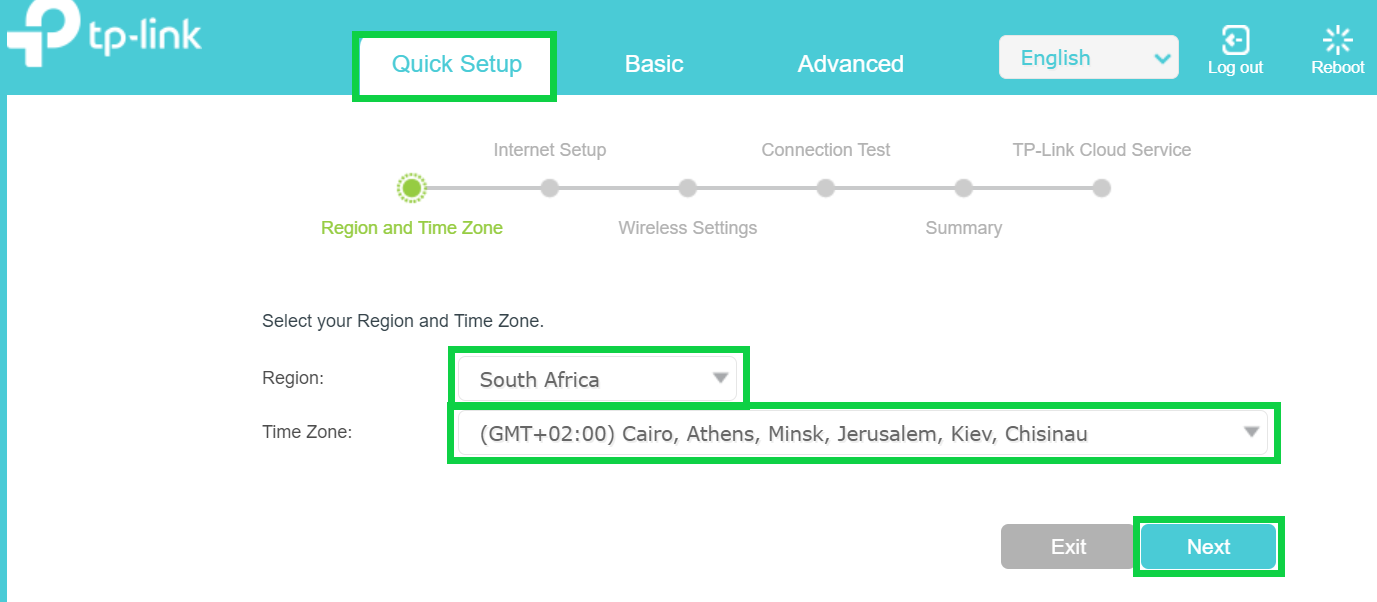
Follow the ‘Quick Setup’ Wizard.
- Next to Region select ‘South Africa’ .
- The 'Time Zone' will be set automatically to (GMT + 02:00).
- Click ‘Next’ to continue.
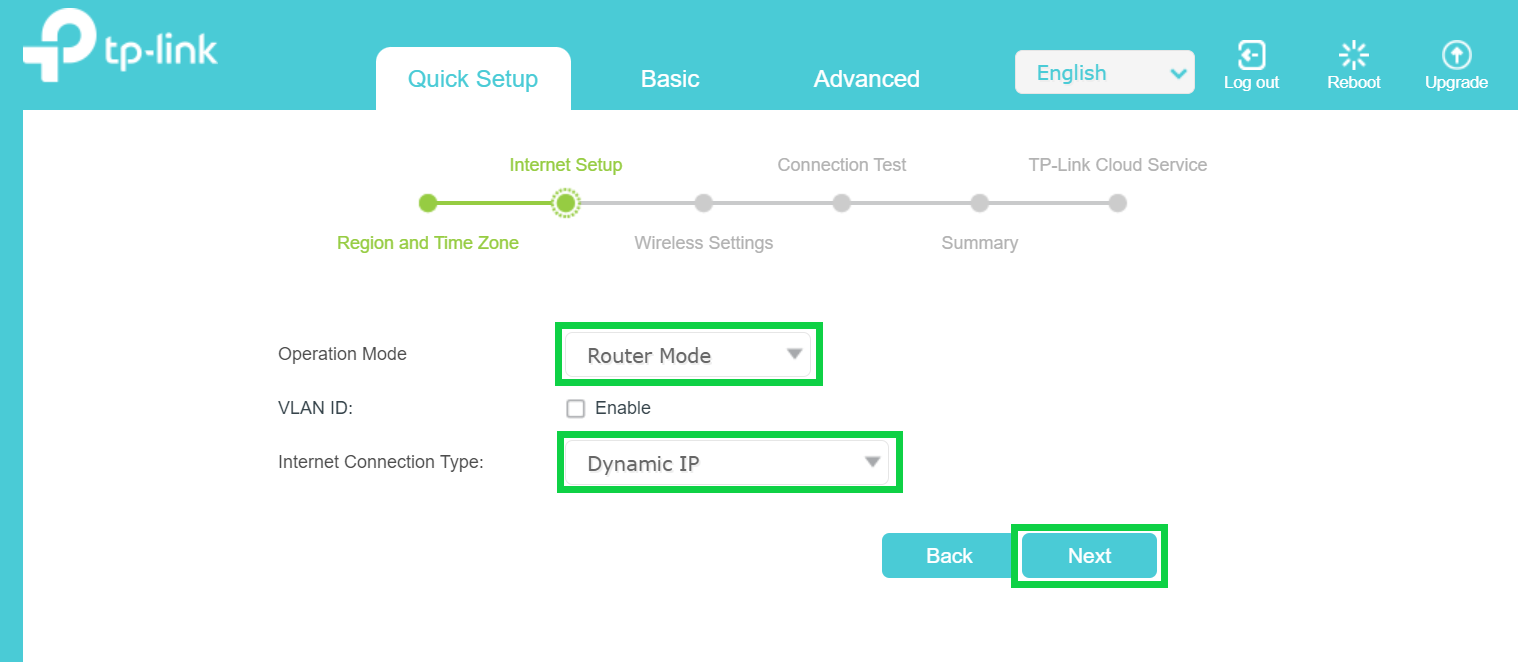
- Next to Operation Mode choose 'Router Mode' from the drop-down menu.
- Next to Internet Connection Type select ‘Dynamic IP’ from the drop-down menu.
- Enter the 2.4GHz SSID (WiFi network name) and password of your choice.
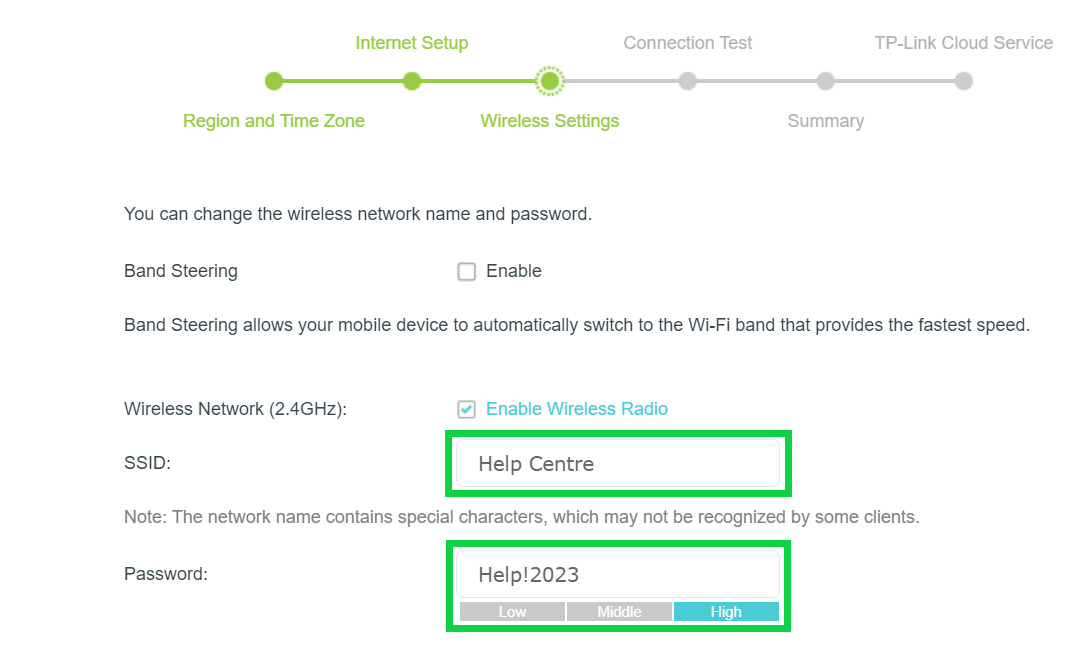
The 2.4 GHz provides broader coverage and is ideal for devices that are further from the router, while the 5 GHz offers faster speeds for bandwidth-intensive applications (such as gaming) when you're closer to the router.
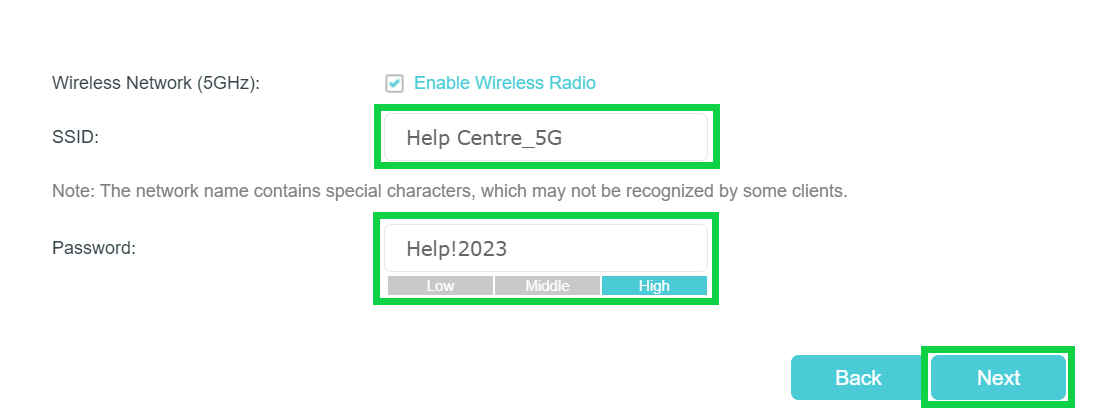
- Scroll down and enter the 5GHz SSID (WiFi network name) and password of your choice.
- Click ‘Next’ to continue’.
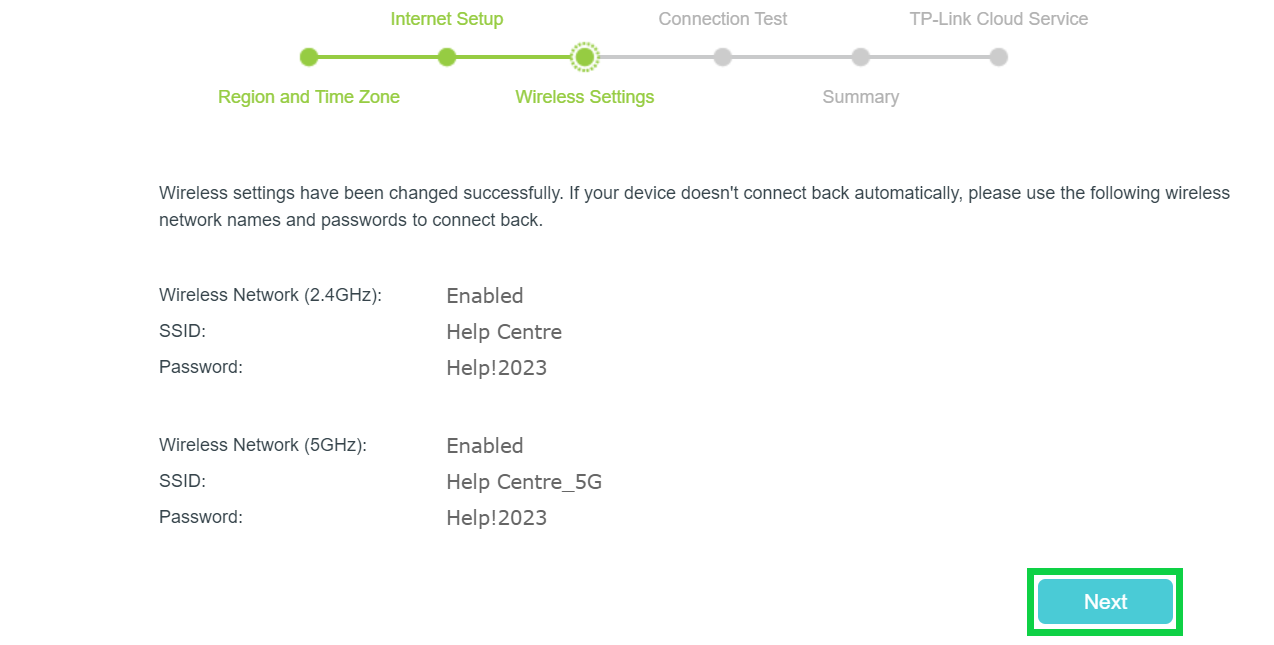
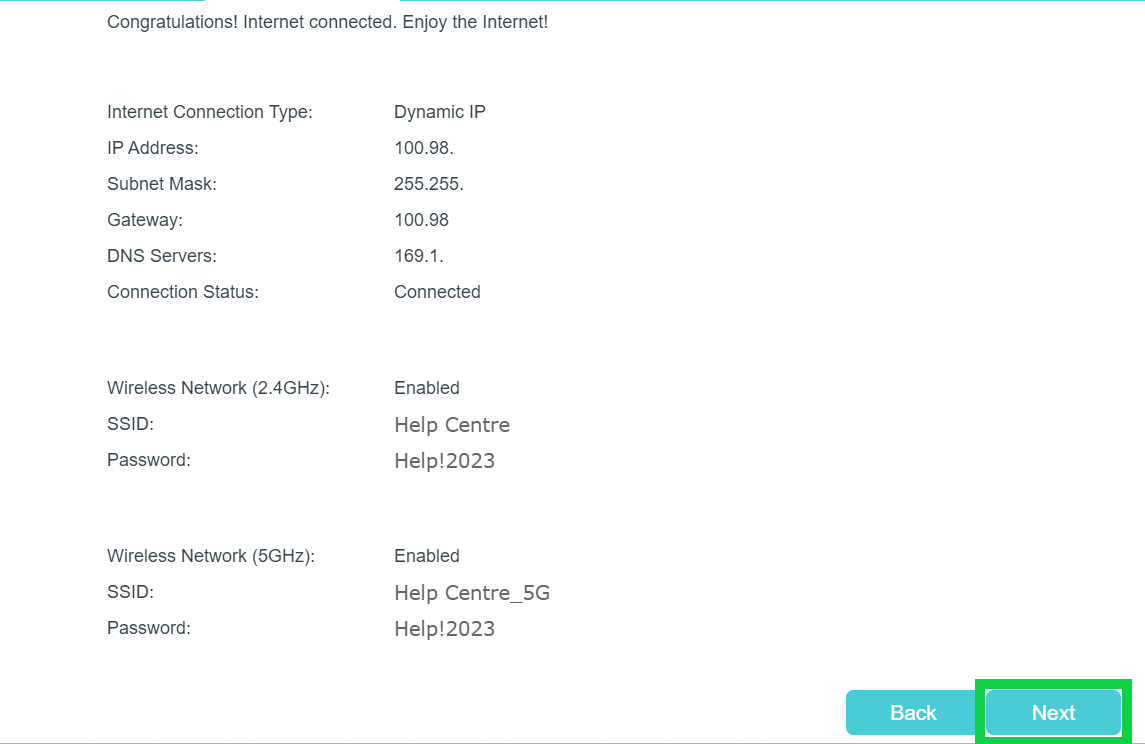
- A summary of your WiFi settings will be displayed. If your device doesn’t connect automatically, use the displayed information to get reconnected.
- Click ‘Next’ to continue.
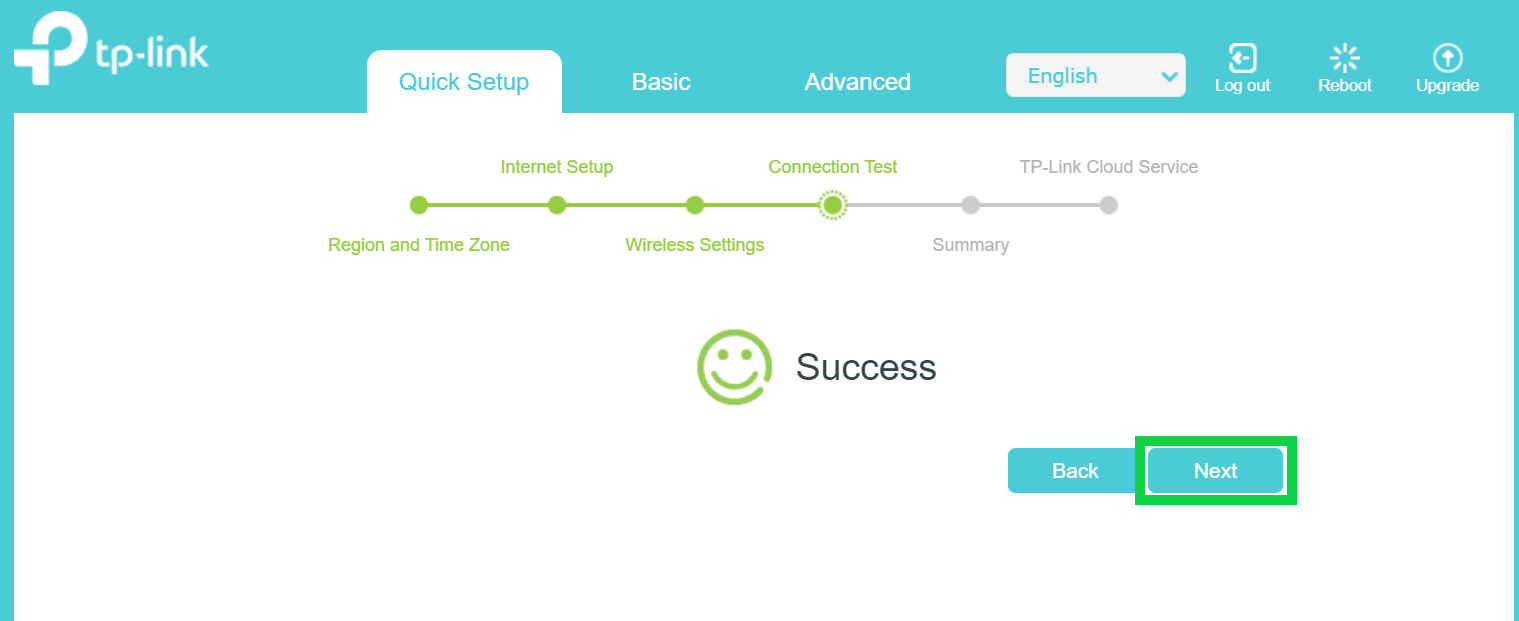
- The connection has been successfully established.
- Click ‘Next’.
- Click ‘Next’ to complete and exit the interface.
Congratulations, you have successfully connected to the internet.
If you would like to know How to activate your Fibre line (Other providers), please read our Help Centre article for assistance.